Installing Snow Guards on Metal Roof: 7 Essential Steps
Installing snow guards on metal roof surfaces is critical for preventing dangerous snow avalanches that can damage property, injure people, and destroy landscaping. Metal roofs shed snow rapidly due to their smooth surfaces, creating hazardous conditions below. This comprehensive guide walks you through professional installation techniques that ensure maximum snow retention while protecting your investment.
Table of Contents
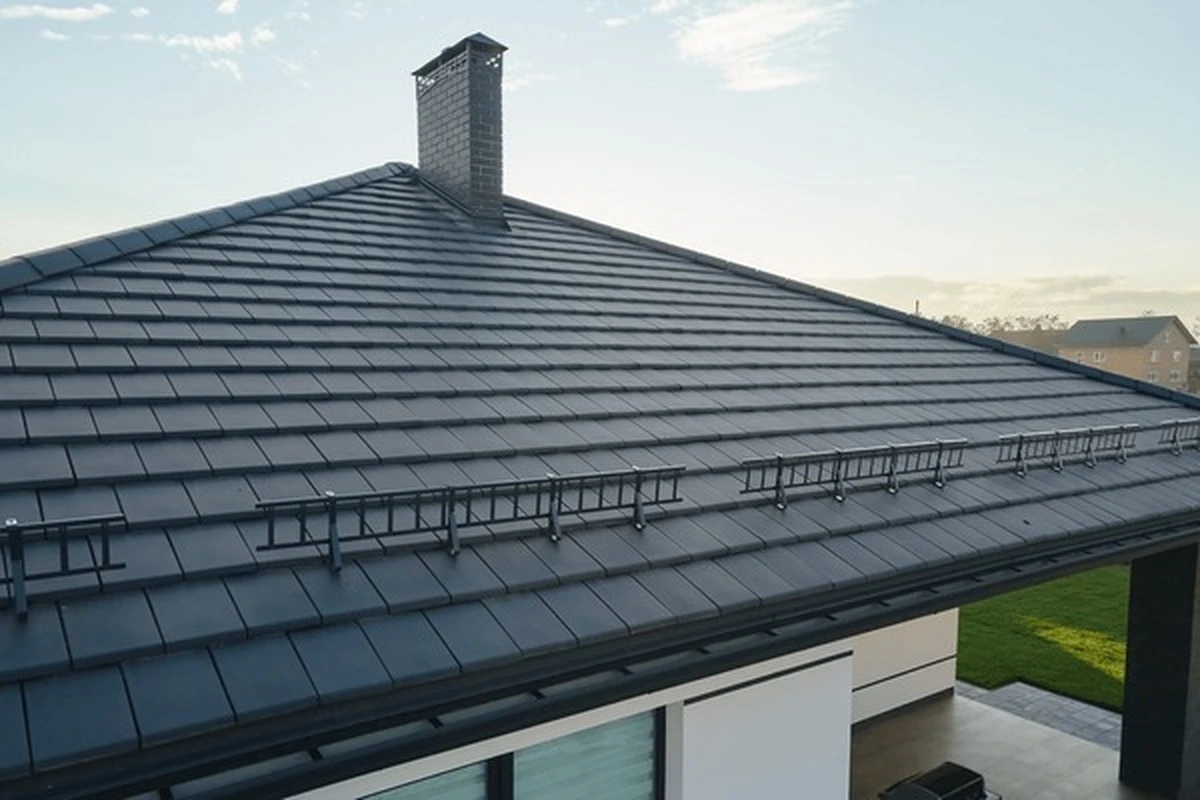
Snow retention systems have evolved significantly, offering multiple mounting options for every roof type. Whether you choose clamp-on systems for standing seam roofs or mechanical attachments for through-fastened panels, proper installation prevents costly damage and liability issues.
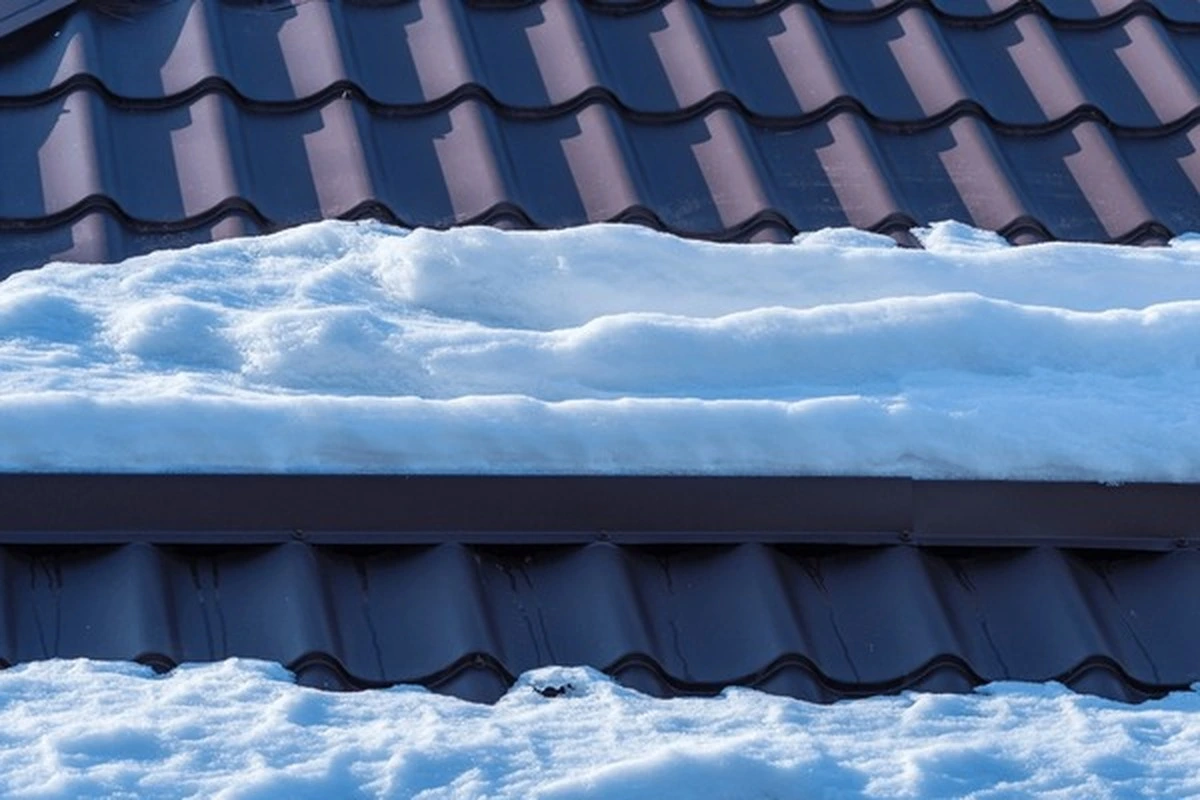
Before installing snow guards on metal roof panels, it’s essential to understand how these systems work. Snow retention doesn’t stop snow from sliding—it controls the release rate, allowing gradual melting instead of dangerous avalanches.
Three main types dominate the market: pad-style guards, continuous rail systems, and fence-style bars. Each serves specific applications based on roof pitch, snow load requirements, and architectural preferences.
Standing seam roofs typically use non-penetrating clamp systems, while through-fastened panels require mechanical attachment. Understanding your roof type determines which installation method you’ll use.
For related information about metal roofing types, visit our complete metal roofing systems guide.
Step 1: Calculate Proper Spacing and Layout
The most critical aspect of installing snow guards on metal roof surfaces is determining correct placement. Poor spacing creates concentration points where snow accumulates, overloading the system and defeating its purpose.
Key calculation factors:
- Roof pitch (measured in degrees or ratio)
- Expected snow load for your region
- Roof length from ridge to eave
- Panel width and seam spacing
Professional installers use manufacturer-provided charts that correlate these variables. For example, steeper pitches require guards closer to the eaves (6-12 inches), while lower slopes can place them 16-24 inches up.
Never install guards only above doorways or specific areas. This creates a V-pattern where snow concentrates, potentially holding 3-4 times the intended load and causing system failure. Guards must span the entire roof plane for balanced distribution.
Step 2: Gather Required Tools and Materials
Installing snow guards on metal roof panels requires specific tools and materials. Having everything prepared prevents mid-project delays and ensures proper installation.
Essential tools:
- Torque wrench (for clamp systems)
- Drill with 3/16″ cobalt bits
- Scratch awl or center punch
- String line and water-soluble marker
- Socket set or adjustable wrench
- Aviation snips (for cutting bars)
Materials needed:
- Snow guard clamps or mechanical brackets
- ColorGard bars or rail components
- VersaClips and SnoClips (for bar systems)
- Self-tapping screws (1″ length, #14 head)
- Rubber washers (for through-fastened applications)
- Splice connectors and color strips
Professional contractors recommend wearing a tool belt to keep fasteners and small components accessible during installation, which typically takes 10 minutes per 10-foot section.
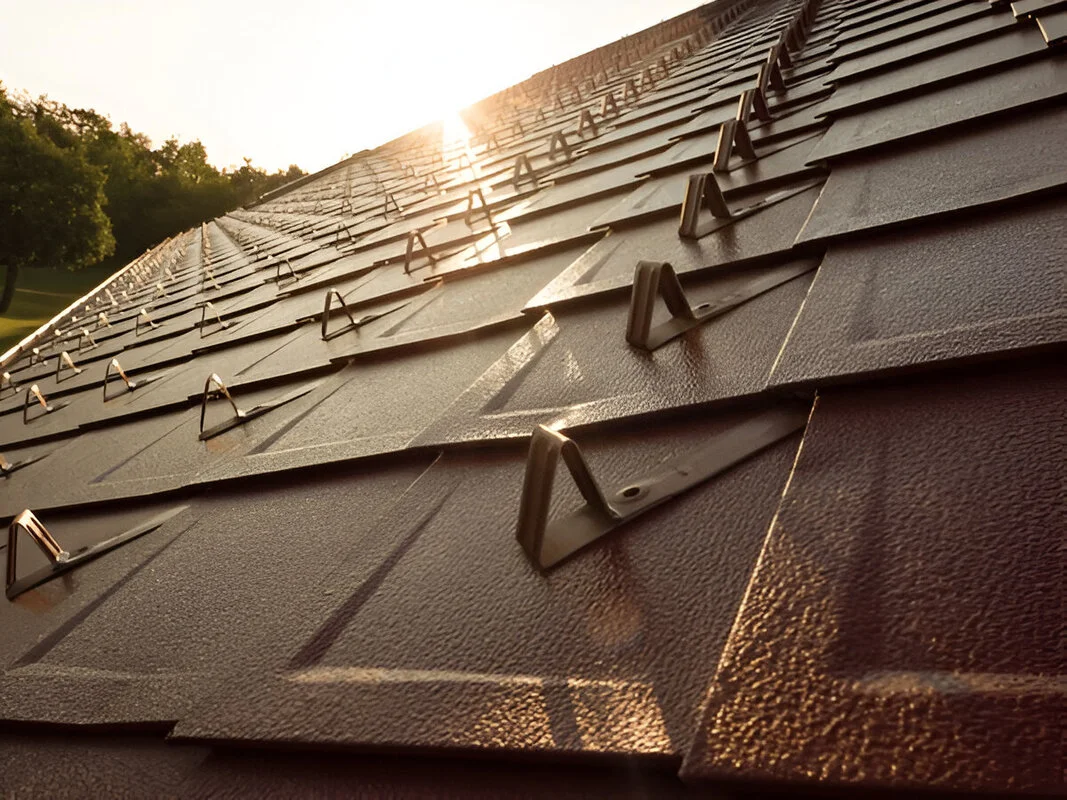
Step 4: Install Through-Fastened Panel Guards
Through-fastened roofs require mechanical attachment using screws. While this penetrates the roof surface, proper technique with quality fasteners creates weathertight installations.
Installation technique:
Mark your staggered pattern according to calculations—typically rows at 8″ and 16″ from the eaves, with guards offset in alternating rows. This staggered configuration distributes loads evenly.
For maximum strength, install 2×4 blocking on the underside of roof decking before installation. This provides solid backing for fasteners to bite into, significantly improving holding power.
Use #12 or #14 self-tapping screws—preferably #12 for additional strength over standard #10 fasteners. Each pad-style guard requires two screws positioned through pre-drilled holes.
Drill pilot holes with a 3/16″ bit to prevent panel distortion. Use a scratch awl to mark exact centers before drilling. Install rubber washers under screw heads to create weatherproof seals.
Adjust your drill clutch settings to achieve proper fastener tightness—overtightening indents ribs and compromises weatherproofing, while undertightening allows movement. Guards should sit flush without gaps but shouldn’t deform the panel.
[Embed YouTube installation tutorial here]
For comparison between attachment methods, see our mechanical vs. adhesive snow guard comparison.
Step 5: Add Adhesive Snow Guards (Supplemental Protection)
Adhesive-mounted guards provide supplemental protection between mechanically attached systems. While not suitable as primary retention on steep slopes, they effectively slow snow movement on lower pitches.
Clean panel surfaces thoroughly with isopropyl alcohol before application. Surface contaminants prevent proper adhesion and cause early failure.
Apply industrial-grade adhesive according to manufacturer specifications—most require 50-60°F temperatures for proper curing. Avoid installation during extreme heat, cold, or precipitation.
Position adhesive guards in staggered rows between mechanical guards for enhanced retention. Press firmly for 30 seconds and allow 24-48 hours cure time before snow exposure.
These systems work best on roofs with pitches below 4:12 and in regions with moderate snowfall. Heavy snow loads require mechanical attachment for reliability.
Step 6: Protect Gutters and Finish Details
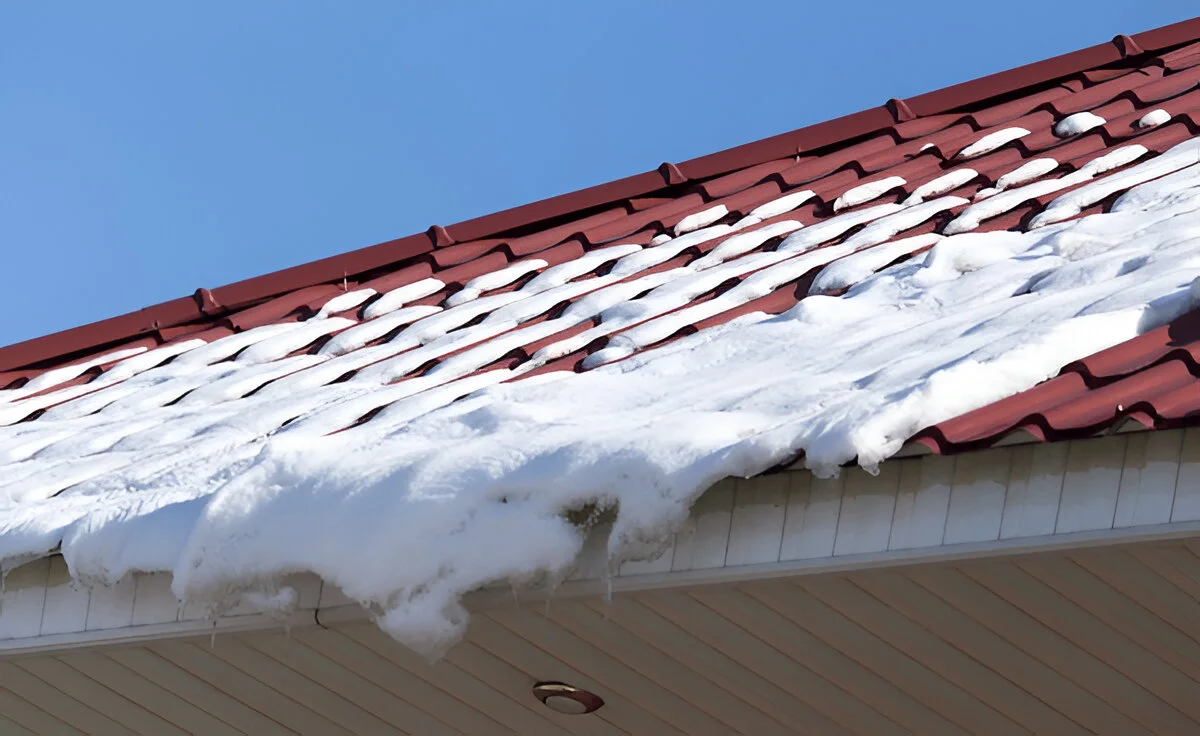
Installing snow guards on metal roof edges requires special attention to prevent gutter damage. Even retained snow creates significant weight that can bend or detach drainage systems.
Use the “pool noodle hack”—place foam pipe insulation in gutters during installation to prevent scratches from dropped tools or materials. This simple precaution preserves gutter finish and prevents rust formation.
Ensure 6-inch overlaps where bars connect. Insufficient overlap creates weak points where sections can separate under load.
Clean all metal shavings (swarf) from the roof immediately after cutting bars. These particles rust quickly and stain panels, creating unsightly marks that are difficult to remove.
Apply touch-up paint to any scratched areas using manufacturer-matched colors. Even small scratches compromise the coating and accelerate corrosion.
Check our gutter maintenance guide for metal roofs for additional protection tips.
snow guards on metal roof surfaces, thorough inspection ensures proper function and identifies any installation errors before snow season arrives.
Final inspection checklist:
- All fasteners torqued to specification
- No gaps between guards and panels
- String line alignment maintained across entire run
- Splice connections secure with color strips installed
- All swarf removed from roof surface
- Gutter protection removed
- Touch-up paint applied where needed
Walk the roof perimeter to verify consistent spacing and alignment. Misaligned guards create aesthetic issues and may indicate installation problems.
Test clamp systems by attempting to slide them along seams—properly torqued clamps shouldn’t move. Wiggle through-fastened guards to ensure solid attachment without play.
Document your installation with photos showing guard placement, spacing, and overall coverage. This provides valuable reference for future maintenance or insurance claims.
Common Installation Mistakes That Compromise Safety
Even experienced contractors make errors when installing snow guards on metal roof systems. Understanding these pitfalls helps you avoid expensive corrections.
Critical mistakes:
Partial installation: Installing guards only above entrances or patios creates dangerous concentration zones. Snow accumulates in a V-pattern, holding 3-4 times expected loads and causing catastrophic failure. Always install across the entire roof plane.
Incorrect spacing: Manufacturer specifications exist for good reason—they’re based on engineering calculations for your specific conditions. Improvising spacing creates weak points or over-engineering that wastes money.
Inadequate fastener backing: Through-fastened installations without proper decking support rely solely on thin metal panel strength. This leads to fastener pull-through and system failure during heavy snow events.
Poor weather timing: Installing during rain, extreme cold, or high heat affects adhesive curing, sealant performance, and metal expansion. Schedule installation during mild, dry conditions.
For professional installation services, visit our certified contractor network.
Cost Analysis and Return on Investment
Understanding project economics helps you make informed decisions about installing snow guards on metal roof surfaces.
| System Type | Material Cost (per 100 sq ft) | DIY Install Time | Professional Cost |
|---|---|---|---|
| Clamp-on rail system | $250-$400 | 6-8 hours | $800-$1,200 |
| Pad-style mechanical | $150-$250 | 4-6 hours | $500-$800 |
| Adhesive supplemental | $75-$150 | 2-3 hours | $300-$500 |
| Complete hybrid system | $350-$600 | 8-12 hours | $1,200-$2,000 |
Snow avalanche damage averages $3,000-$8,000 per incident, including gutter replacement, landscaping repairs, and potential liability claims. Proper retention systems pay for themselves after preventing just one major slide.
Many insurance companies offer premium reductions of 5-10% for homes with certified snow retention systems. Check with your provider about potential savings.
Maintenance and Seasonal Inspection
Once installed, snow retention systems require minimal maintenance but benefit from annual inspections to ensure continued effectiveness.
Annual maintenance tasks:
- Inspect all fasteners for tightness (torque check clamps)
- Check for rust or coating damage
- Verify no guards have shifted or become loose
- Clean debris from beneath rail systems
- Test adhesive guards for secure attachment
- Document any wear or damage
Perform inspections in early fall before snow season begins. This provides time to address issues before they become critical.
After major snow events, visually inspect the system for any signs of stress, bending, or component failure. Address problems immediately to prevent progressive damage.
When to Hire Professional Installers
While DIY installation is feasible for experienced homeowners, certain situations require professional expertise.
Professional installation recommended for:
- Roofs with pitches exceeding 7:12 (steep slopes create safety hazards)
- Commercial buildings requiring engineered calculations
- Complex roof geometries with multiple valleys or dormers
- Projects requiring liability insurance coverage
- Installations in areas with extreme snow loads (150+ lbs/sq ft)
Licensed contractors carry liability insurance protecting you from installation-related damage. They also understand local building codes and permit requirements.
Obtain quotes from at least three certified installers before selecting. Verify they’re trained by the snow guard manufacturer and carry current insurance certificates.
For engineering guidelines and load calculations, consult the International Building Code snow load requirements and Metal Construction Association installation standards.
Frequently Asked Questions
How far from the eave should snow guards be installed?
For most applications, install the first row 6-24 inches from the eave, depending on roof pitch. Steeper roofs (7:12 or greater) require closer placement (6-12 inches), while gentler slopes can position guards farther up (16-24 inches).
Can I install snow guards on an existing roof?
Yes, both clamp-on and mechanical systems install easily on existing roofs. Clamp systems require no penetrations, while through-fastened options need careful sealing around new fasteners.
Do snow guards work on all metal roof types?
Snow retention systems exist for every metal roof profile, including standing seam, corrugated, R-panel, and stone-coated steel. The attachment method varies based on panel design.
How long does installation take?
DIY installation typically requires 6-12 hours for an average residential roof (1,500-2,000 sq ft), depending on system complexity. Professional crews complete installations in 3-5 hours.
Get free roofing advice, cost guides, and seasonal maintenance tips.

Roofing content specialist with 5+ years researching U.S. residential and commercial roofing. Has documented 200+ projects covering installation costs, material selection, contractor vetting, and DIY guides for homeowners across all climate zones.
Leave A Comment