How to Install a Metal Roof: Step-by-Step Guide (2026)
Table of Contents
Installing a metal roof delivers decades of durability, energy efficiency, and low maintenance when done correctly. The process involves preparing the deck with waterproof underlayment, installing drip edges and closure strips, laying panels from eaves to ridge with proper overlap, securing with specialized fasteners, and finishing with ridge caps and flashing around penetrations. Metal roofing is more DIY-friendly than many homeowners expect, especially exposed-fastener systems on simple gable roofs, though standing seam installations require professional expertise.
This comprehensive guide walks through every step of metal roof installation, from planning and material selection to final inspection, with safety tips, common mistakes to avoid, and when to hire professionals.
Before You Start: Planning & Preparation
Assess Your Roof
Structural Check:
- Inspect roof deck for rot, soft spots, or damage
- Verify adequate support for metal roofing weight (lighter than asphalt but requires solid deck)
- Check roof pitch (metal works on 3:12 or steeper; special underlayment needed for lower slopes)
- Measure accurately: length, width, valleys, ridges, penetrations
Choose Your Metal Roofing:
- Exposed-fastener panels: Corrugated or R-panel; screws visible through panel face (DIY-friendly)
- Standing seam: Hidden fasteners with interlocking seams (professional install recommended)
- Metal shingles: Individual pieces mimicking traditional shingles (moderate complexity)
Material: Steel (most common), aluminum (coastal/corrosion resistance), copper (premium), zinc.
Gather Materials & Tools
Materials Needed:
- Metal roofing panels (order 10% extra for waste)
- Synthetic underlayment (ice-and-water shield at eaves/valleys)
- Drip edge (eaves and rakes)
- Closure strips (block gaps between ribs)
- Metal roofing screws with neoprene washers
- Ridge cap and ridge vent (if applicable)
- Flashing for penetrations (vents, chimneys, skylights)
- Sealant/butyl tape
Tools Required:
- Circular saw or metal shears (for cutting panels)
- Cordless drill/impact driver
- Tin snips
- Chalk line, tape measure, rafter square
- Ladder, roof jacks, safety harness
- Metal brake (if bending custom trim)
Step-by-Step Metal Roof Installation
Step 1: Remove Old Roofing (If Required)
Options:
- Tear-off: Remove existing shingles to inspect deck (recommended for damaged roofs)
- Install over shingles: Possible with furring strips and proper preparation (see metal roofing over shingles guide)
If Tearing Off:
- Remove shingles, underlayment, and nails
- Inspect deck thoroughly
- Replace damaged plywood or OSB
- Ensure flat, solid surface
Step 2: Install Underlayment
Purpose: Waterproof barrier protects against leaks, condensation, and ice dams.
Materials:
- Synthetic underlayment: Preferred for metal (breathable, high-temp rated)
- Ice-and-water shield: Mandatory at eaves (6 feet up) and valleys in cold climates
Installation:
- Start at eaves, roll horizontally toward ridge
- Overlap seams 4–6 inches
- Staple or nail every 12–18 inches
- Apply ice-and-water shield at eaves, valleys, penetrations
- Ensure wrinkle-free application
Pro Tip: Use high-temp underlayment (rated to 250°F+). Metal roofs reach 180°F in summer; standard felt degrades.
Step 3: Install Drip Edge
Purpose: Directs water into gutters, protects fascia from rot.
Installation:
- Eaves first: Install drip edge along bottom edge BEFORE underlayment in most cases (check local code)
- Rakes second: Install along gable ends OVER underlayment
- Overlap sections 2 inches
- Nail every 8–12 inches into deck (not drip hem)
- Ensure continuous, straight alignment
Step 4: Plan Panel Layout
Critical Planning:
- Determine starting point (typically left side if right-handed)
- Calculate number of panels needed (roof width ÷ panel coverage width)
- Plan overlaps (typically 1–2 ribs per panel)
- Mark vertical chalk lines for alignment every 3–4 panels
Panel Orientation: Install perpendicular to eaves (vertical on most roofs) for best water shedding.
Step 5: Install Closure Strips
Purpose: Block gaps under panel ribs at eaves, preventing wind-driven rain, pests, and air infiltration.
Types:
- Foam closures: Compressible foam shaped to panel profile
- Vented closures: Allow airflow while blocking large gaps
Installation: Place along eaves over drip edge before first panel; press firmly to adhere.
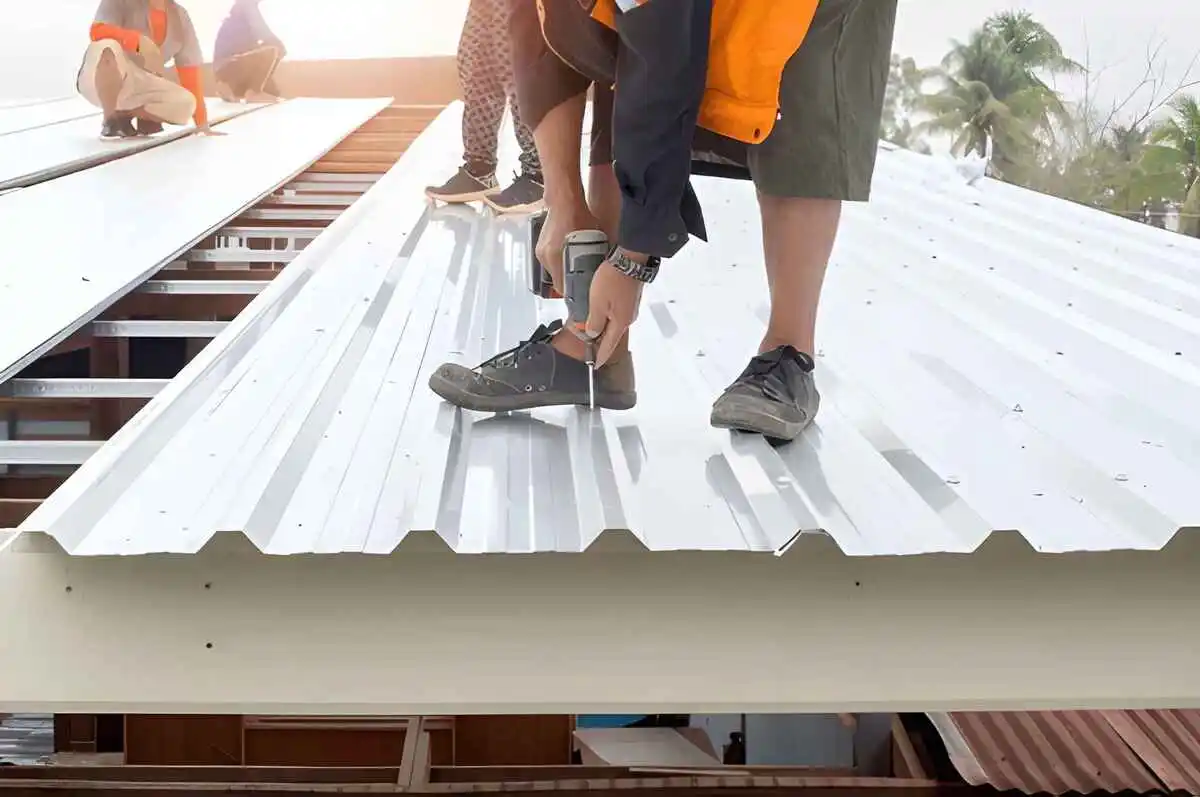
Step 6: Install First Metal Panel
Critical Step: First panel sets alignment for entire roof.
Installation:
- Position panel at eave with 1–2 inch overhang past drip edge
- Square panel using rafter square (check both ends)
- Align with chalk line or roof edge
- Temporarily tack top corners with screws
- Verify straight alignment before full fastening
- Install screws in flat sections (not ribs) every 12–18 inches
- Place screws 1 inch from panel edges
Fastener Tips:
- Use screws with neoprene washers (seal against leaks)
- Drive screws snug but not over-tight (compresses washer, causes leaks)
- Angle screws perpendicular to roof (not slanted)
Step 7: Continue Installing Panels
Overlap Pattern:
- Overlap next panel by 1–2 ribs (follow manufacturer specs)
- Ensure water flows over top panel onto bottom panel
- Maintain consistent spacing/alignment across roof
- Use chalk lines to verify straightness every few panels
Working Upward:
- Complete each row from eave to ridge before moving to next row
- Or install vertically (full-length panels from eave to ridge in columns)
Cutting Panels:
- Measure twice, cut once
- Use tin snips for small cuts, circular saw with metal blade for long cuts
- Wear safety glasses and gloves (sharp edges)
Step 8: Install Ridge Cap
Purpose: Seals roof peak, provides ventilation (if vented ridge cap used).
Installation:
- Install ridge vent (if using) before cap
- Position ridge cap over peak, overlapping panels 6–8 inches on each side
- Overlap cap sections 6 inches (work from end opposite prevailing wind)
- Fasten through cap into ridge board every 12–18 inches
- Use longer screws to reach structural support
- Seal final cap end with butyl tape or end cap closure
Step 9: Install Flashing & Penetrations
Critical Areas:
- Valleys: Install metal valley flashing before panels or use closed-valley method
- Chimneys: Step flashing and counterflashing sealed with high-temp sealant
- Vent pipes: Rubber or metal boots; seal with sealant
- Skylights: Custom flashing kits per manufacturer
- Sidewalls: Step flashing overlapping each panel course
Flashing Principles:
- Water must flow OVER top piece onto lower piece (shingle principle)
- Seal all seams with butyl tape or compatible sealant
- Avoid relying solely on sealant; mechanical overlap is primary defense
Step 10: Install Rake Trim & Final Details
Rake Trim (Gable Edges):
- Install after panels are in place
- Cover panel edges with trim pieces
- Fasten every 12–18 inches
- Overlap trim sections 2 inches
Final Steps:
- Trim panel overhangs to consistent length
- Touch up any scratched paint (prevents rust)
- Install gutter system if needed
- Clean roof of metal shavings (prevent rust stains)
- Conduct final inspection
Safety Considerations
Fall Protection (Non-Negotiable):
- Use full-body harness with roof anchors rated for fall arrest
- Install roof jacks and planks on steep pitches (>6:12)
- Never work on wet or icy metal (extremely slippery)
- Wear soft-sole shoes (metal-roofing specific or rubber)
Metal-Specific Hazards:
- Sharp edges (gloves mandatory)
- Slippery surface when wet or dewy
- Expands/contracts with temperature (handle carefully in extreme heat/cold)
- Conductive (be aware of power lines)
DIY vs. Professional Installation
DIY Feasible When:
- Simple gable or hip roof (no valleys, dormers)
- Pitch ≤6:12 (moderate slope)
- Exposed-fastener panels (corrugated, R-panel)
- You have roofing experience and safety equipment
- Project is <1,500 sq ft
Hire a Professional When:
- Standing seam system (requires specialized equipment)
- Complex roof geometry (multiple valleys, dormers, skylights)
- Steep pitch (>7:12)
- Multi-story home
- Warranty coverage required
- You lack experience or safety gear
Cost Comparison:
- DIY materials: $4–$8 per sq ft
- Professional install: $8–$16 per sq ft (includes labor, materials, disposal)
DIY Savings: $4,000–$8,000 on 1,000 sq ft roof, but mistakes cost more to fix than hiring pros initially.
Common Metal Roofing Installation Mistakes
- Wrong fastener placement (in ribs instead of flats) → Leaks, panel damage
- Over-tightening screws → Crushed washers, future leaks
- Improper panel overlap → Water infiltration
- Skipping closure strips → Wind-driven rain, pests
- Poor first-panel alignment → Entire roof off-square
- Inadequate flashing → Leaks at penetrations, valleys
- Walking on panels incorrectly → Dents, scratches, bent ribs
FAQ
How long does it take to install a metal roof?
2–4 days for professional crews on typical 2,000 sq ft roof. DIY projects take 1–2 weeks depending on experience and crew size.
Can I install a metal roof myself?
Yes, for simple roofs with exposed-fastener panels. Standing seam systems require professional installation due to specialized equipment and expertise.
Do I need to remove shingles before installing metal?
Not always. You can install metal over one layer of shingles using furring strips, which saves time and disposal costs. See our metal over shingles guide.
What pitch is required for metal roofing?
Minimum 3:12 for most systems. Lower pitches require special underlayment and sealing methods. Consult manufacturer specifications.
How do you cut metal roofing panels?
Use tin snips for small cuts or a circular saw with metal-cutting blade for long cuts. Always wear safety glasses and gloves.
What screws do you use for metal roofing?
#12 or #14 self-tapping screws with neoprene/EPDM washers, typically 1–3 inches long depending on substrate. Match screw color to panel.
How much overhang should metal roofing have?
1–2 inches at eaves and rakes to ensure water drips into gutters and clears fascia.
Conclusion
Installing a metal roof requires careful planning, proper materials, and attention to detail, but delivers 40–70 years of low-maintenance performance. By following manufacturer specifications for underlayment, panel overlap, fastener placement, and flashing details, DIYers can successfully install exposed-fastener systems on simple roofs. Standing seam installations and complex roof geometries benefit from professional expertise to ensure watertight seams and long-term durability. Prioritize safety with fall protection, take time to align the first panel correctly, and never compromise on proper flashing—these steps separate successful metal roofs from problematic ones-
Next Steps:
Compare Metal Roofing Types
Calculate Metal Roof Costs
Get free roofing advice, cost guides, and seasonal maintenance tips.

Roofing content specialist with 5+ years researching U.S. residential and commercial roofing. Has documented 200+ projects covering installation costs, material selection, contractor vetting, and DIY guides for homeowners across all climate zones.
Leave A Comment