How to Install a Roof Vent for Better Attic Ventilation
Table of Contents
Proper roof ventilation is critical for extending shingle life, preventing mold, and keeping energy bills in check. Installing a roof vent boosts airflow, reduces heat buildup, and helps prevent costly damage from moisture or ice dams. This guide breaks down each step of roof vent installation, highlights key safety and material considerations, and helps you avoid common mistakes.
Why Install Roof Vents?
The U.S. Department of Energy recommends a minimum ventilation ratio of 1 square foot of net free ventilation area per 150 square feet of attic floor space — a standard that directly affects shingle warranty validity.
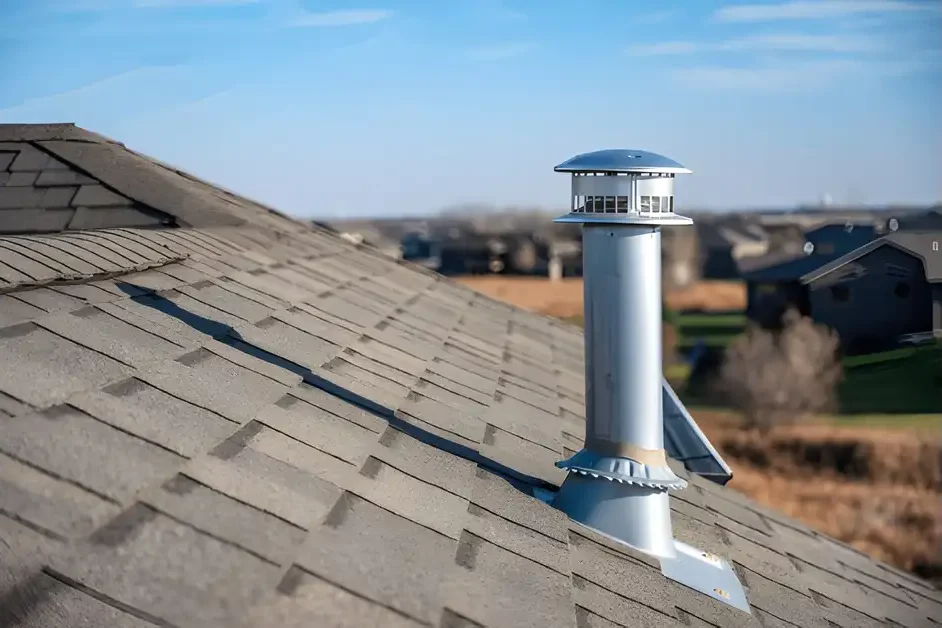
Roof vents work by allowing hot, moist air to escape from your attic, making your home more comfortable year-round. Adequate ventilation is especially critical in regions with hot summers or snowy winters. Without roof vents, you may notice problems ranging from warped shingles, peeling paint, mildew, higher AC costs, or even structural rot.
Planning and Preparation
Assess Your Ventilation Needs
- First, calculate attic square footage to determine how many vents you need. A common rule is one vent per 150 sq. ft. of attic space, though always consult local code or manufacturer recommendations for your roof’s pitch and design.
- Decide which type of vent you’re installing: box (static), ridge, turbine, or powered. This guide primarily focuses on installing a box/static vent, the most DIY-friendly option.
Choose the Right Tools and Materials
You’ll need:
- Roofing vent kit (for your roof type/material)
- Roofing nails, caulk/sealant, putty knife
- Pry bar, hammer, utility knife
- Measuring tape, chalk line, pencil
- Circular saw or jigsaw, drill with bits
- Roof harness, ladder, safety glasses, gloves
- Replacement shingles
Safety First
- Always use a roof harness on slopes >4:12.
- Work only in dry, mild weather.
- Don’t step on brittle, curling shingles.
- Avoid exposed electrical wires in attic spaces.
Locating and Marking the Vent Openings
- From the attic, choose your spot: Use a tape measure to locate the ideal vent location between rafters. Drive a long nail up through the roof deck at the chosen spot—visible from outside for accurate placement.
- Pro tip: Place vents evenly along the roof for balanced airflow, and stagger them to avoid blocking the natural path of rising air.
- On the roof, use a chalk line/pencil: Outline the vent opening according to the template supplied with your vent, typically just the inner opening, not the flange.
Removing Shingles and Cutting the Opening
- Remove the affected shingles: Carefully pry up (not tear) shingles above and around your marked opening using a pry bar and putty knife. Save them for reuse.
- Mark and cut the hole: Drill a pilot hole near the center, then cut out the traced opening using a circular saw or jigsaw. Work slowly and check for nails or wires. Remove any nails protruding into the area you’ll be cutting.
Installing Flashing and the Vent
- Install the flashing: Slide the vent’s flashing underneath the shingles above the hole and on top of those below (a “shingle sandwich” for proper drainage). This step is crucial for preventing leaks.
- Use roofing cement under the flashing edges.
- Place the vent: Position the vent on top of the opening, making sure the vent’s flange is flush on the roof surface and fits snugly with the opening.
- Nail it down: Use galvanized roofing nails around the edge or in pre-drilled holes in the flange (usually 4–6 nails). For additional protection, apply roofing cement over each nail head.
Sealing and Reinstalling Shingles
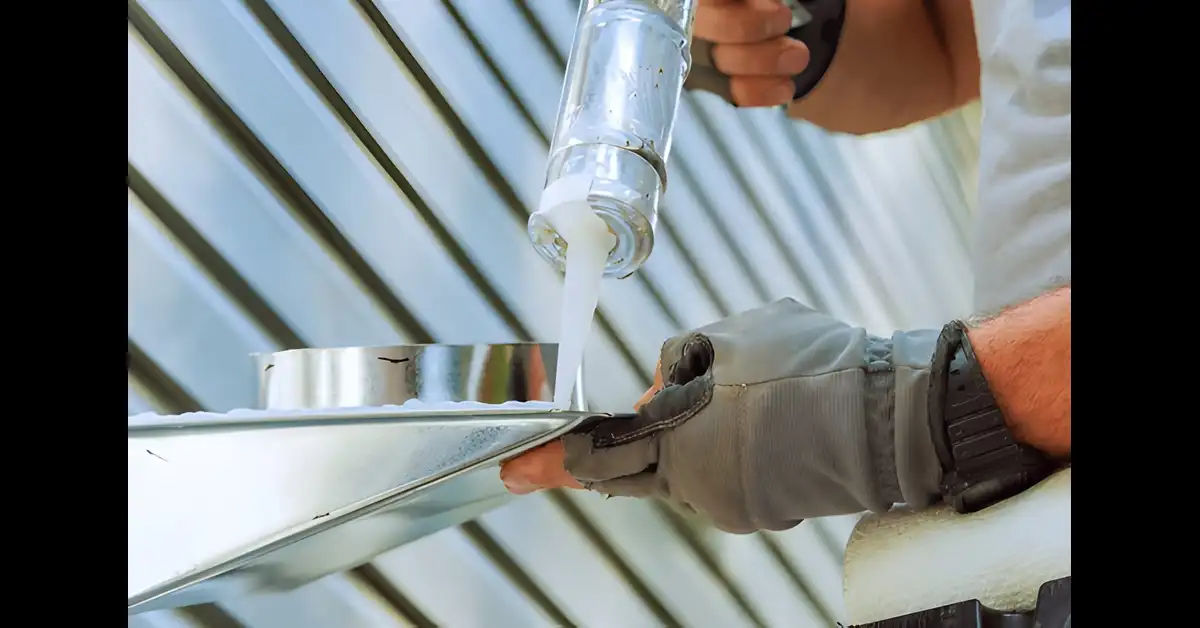
- Seal all edges: Before replacing shingles, run a bead of roofing sealant around the vent base. Carefully reinstall saved shingles, trimming as needed for a snug fit around the vent and overlapping the flashing properly.
- Fasten and seal: Nail shingles back in place and seal the new nail holes with more roofing cement to ensure durability and weather resistance. Double-check that all seams and shingle edges lay flat and watertight.
Attaching Ductwork (for exhaust/output vents)
If connecting to a bathroom/laundry/kitchen exhaust fan:
- Insert a duct connector through the opening before installing the vent cap.
- Secure the hose with a clamp, seal with aluminum tape, and connect the duct to the vent cap as per kit instructions.
Final Inspection and Cleanup
- Inspect both inside and outside for gaps or exposed nail heads and reseal if needed.
- Double-check that the vent is firm, flashing is secure, and shingles are flat.
- Safely remove all debris, extra nails, and tools from your worksite.
Special Scenarios and Customization
Ridge Vent Installation (Summary for Roofers)
- Cut a continuous slot (usually 1½” wide) along each side of the ridge.
- Place the vent roll, nail along the vent’s nailing strip every 12”.
- Install cap shingles over the ridge vent; nail and seal.
Multiple Vents or Upgrades
- Always stagger multiple box vents and maintain at least 2–3 feet between each.
- For powered or solar vents, wiring and additional mounting steps apply—follow specific manufacturer instructions and comply with codes.
Maintenance, Troubleshooting & Pro Tips
Maintaining Roof Vents
- Inspect yearly for leaves, debris, or nests.
- Check caulking/sealant and replace at the first sign of cracks or peeling.
- Ensure insulation in the attic is not blocking vent airflow.
Common Mistakes to Avoid
- Failing to overlap flashing and shingles correctly—leads to leaks.
- Not sealing nail heads—water can rust nails and seep into your attic.
- Cutting holes near rafters or existing vents—may weaken structure or reduce effectiveness.
- Forgetting intake ventilation—roof vents work best with clear soffit vents (intake) for true airflow.
When to Call a Pro
- Roofs with steep pitches, serious damage, or for ridge vent installations are safer for licensed roofers.
- Improper DIY installation can cause ventilation inefficiency, leaks, or invalidate warranties.
Visual and Further Learning
- Watch: YouTube: How To Properly Install Roof Vents (step-by-step visual)
- PDF: Broan-NuTone Roof Vent Kit Installation
- Expert Reads: IKO’s Roof Vent Guide
- Maintenance Tips: Roof Repair & Maintenance Hub
Get free roofing advice, cost guides, and seasonal maintenance tips.

Roofing content specialist with 5+ years researching U.S. residential and commercial roofing. Has documented 200+ projects covering installation costs, material selection, contractor vetting, and DIY guides for homeowners across all climate zones.
Leave A Comment