Metal Roof Vents: 5 Installation Tips That Save Money
Table of Contents
Proper ventilation is critical for extending the lifespan of your roofing system and preventing costly moisture damage. This comprehensive guide reveals five essential techniques that professional contractors use to install metal vents components efficiently while avoiding expensive mistakes.
Understanding Roof Ventilation Systems
Before diving into installation, it’s important to understand how attic ventilation works. A balanced system requires both intake vents at the eaves and exhaust vents at the ridge or roof peaks.
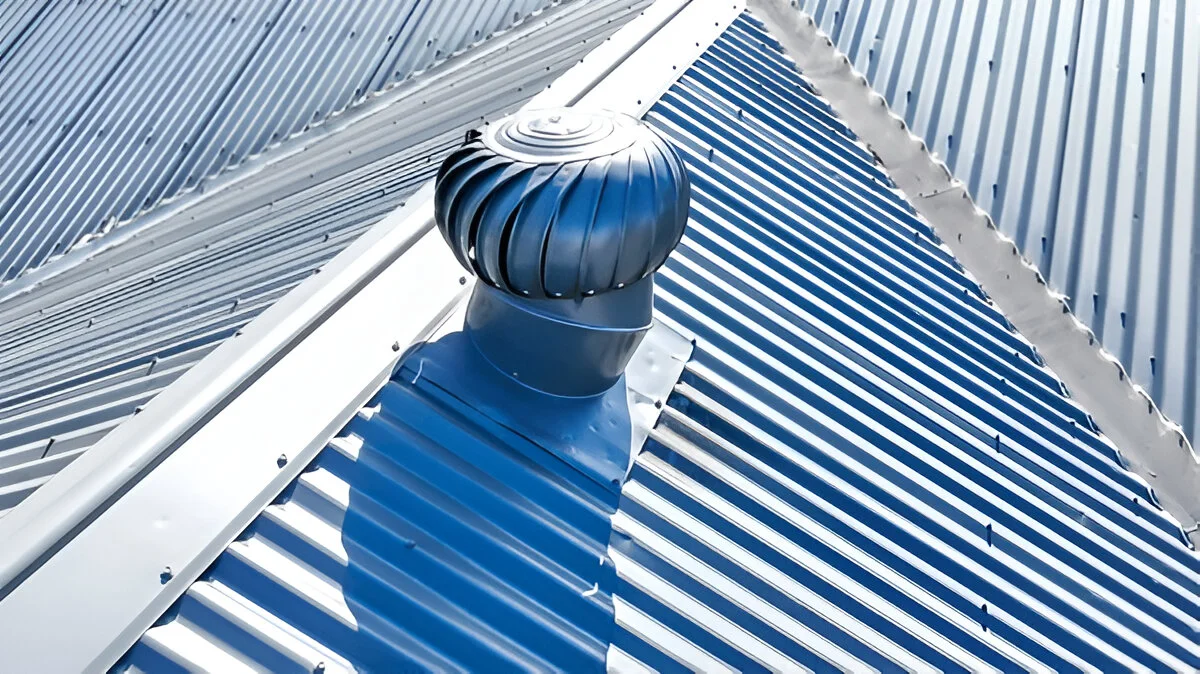
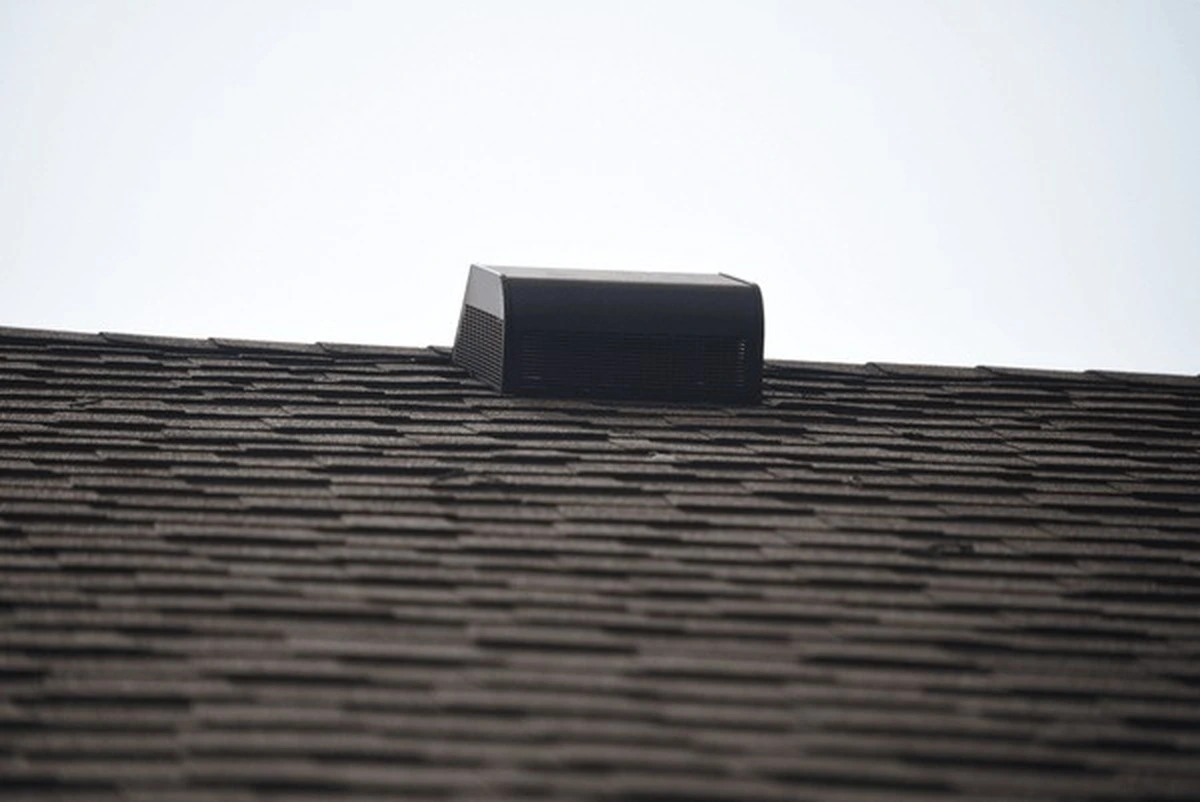
Ridge vents, turbine vents, and powered exhaust systems each serve specific purposes. Choosing the right type depends on your roof pitch, attic size, and local climate conditions.
For detailed information about different roofing materials, check out our complete metal roofing guide.
Tip 1: Calculate Ventilation Requirements Before Purchasing

The biggest money-waster is buying incorrect quantities or sizes. Use the 1:300 rule: you need 1 square foot of ventilation for every 300 square feet of attic space.
Quick calculation formula:
- Measure your attic square footage
- Divide by 300
- Split 50/50 between intake and exhaust
This ensures you purchase exactly what’s needed, avoiding returns or supplemental orders that increase project costs.
Tip 2: Choose Strategic Placement to Minimize Penetrations
Every roof penetration is a potential leak point. Strategic placement reduces the number of holes while maximizing airflow efficiency.
Position ridge vents along the entire peak when possible. For turbine or box-style vents, space them evenly across the upper third of the roof slope. Avoid placing vents in valleys or where water naturally channels.
Fewer penetrations mean less sealant, fewer flashings, and reduced labor costs—typically saving $150-$300 per installation.
Tip 3: Use Proper Flashing and Sealant Techniques
Improper sealing causes 70% of ventilation-related leaks. Always use metal-specific sealants designed for thermal expansion and contraction.
Essential sealing steps:
- Apply butyl tape under all flashing edges
- Use high-quality polyurethane or silicone sealant rated for metal roofing
- Install flashings with appropriate overlap (minimum 3 inches)
- Secure with matching metal screws and rubber washers
Investing in premium sealants costs $20-40 more upfront but prevents thousands in water damage repairs. Learn more about roof maintenance best practices.
Tip 4: Match Vent Color and Profile to Existing Panels
Mismatched vents create aesthetic issues and may require custom fabrication later. Always order ventilation components that match your panel profile and color.
Most manufacturers offer vents specifically designed for standing seam, corrugated, or R-panel systems. Using compatible products ensures proper fit and eliminates the need for expensive adapters or custom flashings.
Color-matched vents also protect resale value—mismatched components can reduce home appeal by 5-8% according to roofing assessors.
Tip 5: Install During Optimal Weather Conditions

Timing your installation saves money on labor and prevents material damage. Never install during rain, extreme heat (above 95°F), or freezing temperatures.
Sealants cure improperly in extreme conditions, and metal panels expand significantly in heat, affecting measurement accuracy. Mid-spring or early fall provides ideal conditions.
Professional contractors charge 15-25% more for rush installations or weather-delayed projects. Planning ahead keeps costs predictable.
Essential Maintenance Guidelines
Once installed, proper maintenance extends the life of your ventilation system and prevents costly repairs.
Annual Inspection Checklist
- Check all sealant lines for cracks or gaps
- Clear debris from vent openings
- Inspect flashing for rust or separation
- Verify turbine vents spin freely
- Test powered vents for proper operation
These simple checks take 30 minutes annually but prevent the $800-$2,000 average cost of leak repairs.
For seasonal maintenance schedules, visit our guide home maintenance calendar.
Common Installation Mistakes to Avoid
Even experienced DIYers make errors that compromise ventilation effectiveness. Here are the most expensive mistakes:
Over-ventilation: Adding too many exhaust vents disrupts airflow balance and can actually reduce efficiency. Stick to calculated requirements.
Improper pitch alignment: Vents must align with roof pitch. Misalignment creates gaps where water enters.
Skipping underlayment: Always install ice and water shield around vent openings, even in warm climates.
Understanding these pitfalls helps you avoid the $500-$1,500 average cost to correct installation errors.
When to Call a Professional
While many homeowners successfully install basic ventilation components, certain situations require professional expertise:
- Roofs with pitches steeper than 8:12
- Historic or specialty panel profiles
- Integration with solar panels or other roof-mounted equipment
- Complex valley or hip configurations
Professional installation costs $200-$600 per vent but includes warranties and ensures code compliance. Compare quotes from at least three licensed contractors in your area.
For emergency roofing services, contact our 24/7 support team.
Cost Breakdown and ROI
Understanding project economics helps you make informed decisions:
| Component | DIY Cost | Professional Cost |
|---|---|---|
| Ridge vent (10 ft) | $45-$85 | $150-$250 |
| Turbine vent | $35-$60 | $200-$350 |
| Powered vent | $150-$300 | $400-$700 |
| Labor (per vent) | $0 | $100-$200 |
Proper ventilation reduces cooling costs by 10-15% annually and extends roof life by 3-5 years, providing significant long-term savings.
Energy efficiency improvements may also qualify for local utility rebates or tax credits—check your area’s programs.
Installing roof ventilation systems correctly the first time prevents expensive callbacks and repairs. By calculating requirements accurately, choosing strategic placement, using proper sealing techniques, matching materials, and timing installation appropriately, you’ll save hundreds while ensuring optimal performance.
Remember to maintain your system annually and don’t hesitate to consult professionals for complex installations. Your investment in proper ventilation pays dividends through lower energy bills and extended roof lifespan.
Get free roofing advice, cost guides, and seasonal maintenance tips.

Roofing content specialist with 5+ years researching U.S. residential and commercial roofing. Has documented 200+ projects covering installation costs, material selection, contractor vetting, and DIY guides for homeowners across all climate zones.
Leave A Comment