Metal Roof Rake Trim: Complete Installation Guide (2025)
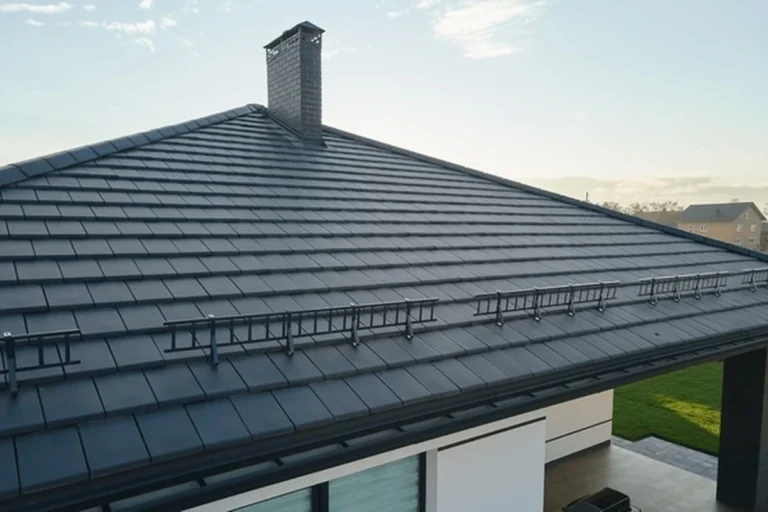
Metal roof rake trim finishes and seals the gable edges of metal roofing, protecting against wind-driven rain infiltration and creating clean, professional-looking rooflines. Also called gable trim, this essential component covers the sloped edges where roof panels meet gable ends, preventing water entry behind panels and resisting wind uplift at these vulnerable roof edges.
Proper installation of metal roof rake trim requires precise cutting at eaves and ridges, correct overlapping techniques, strategic sealant placement, and appropriate fastener spacing. When installed correctly, rake trim transforms raw panel edges into weathertight, finished rooflines that protect structures for decades while enhancing curb appeal.
Table of Contents
Understanding metal roof rake trim and its purpose
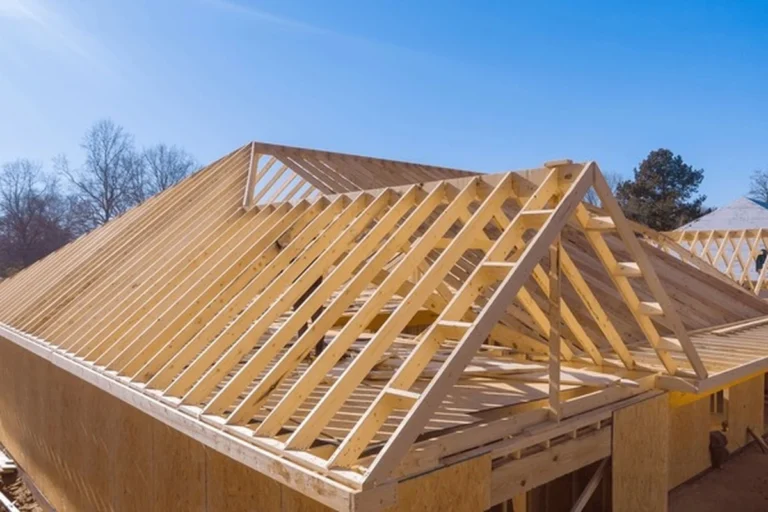
Before installing metal roof rake trim, understanding its function helps ensure proper installation. Rake trim covers the exposed ends of metal roofing panels along gable edges—the sloped sides of the roof that run from eave to ridge.
Primary functions:
- Weather protection: Creates a watertight seal preventing wind-driven rain from penetrating behind panels and into wall cavities or fascia boards
- Wind resistance: Secures panel edges against uplift forces that can peel roofing back during storms
- Edge protection: Covers sharp cut panel edges, protecting installers and future maintenance workers from injury
- Aesthetic finish: Provides straight, clean visual lines even when panel edges are slightly irregular
- Water management: The kickout or drip edge at the bottom directs water away from walls and fascia
Rake trim vs. gable trim:
These terms are completely interchangeable—both refer to the same component. “Rake” describes the sloped edge itself, while “gable” refers to the triangular wall section at the roof end. The trim serves both, hence both names are correct and widely used in the industry.
For understanding other roof trim types, see our complete metal roof trim guide.
Types of metal roof rake trim systems
Metal roof rake trim configurations vary depending on the roofing panel type and whether you’re using exposed or concealed fastener systems.
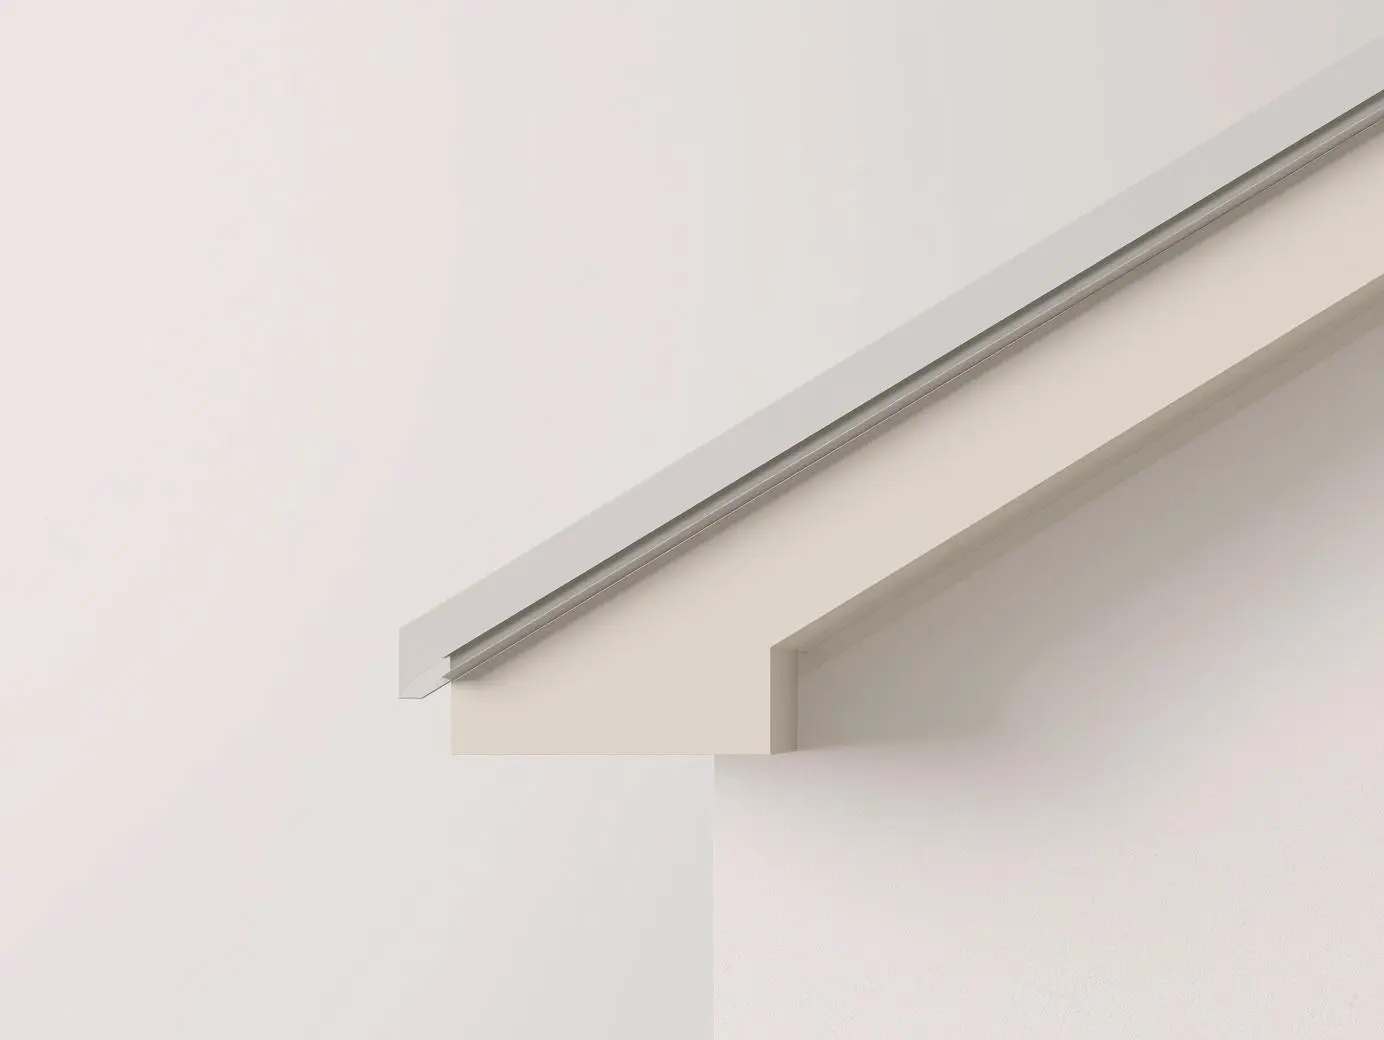
One-piece exposed fastener rake trim:
The most common system for corrugated, R-panel, PBR panel, and similar profiles uses a single formed metal piece that:
- Hooks over the high edge of the roof panels
- Extends down the gable fascia board (typically 1-3 inches)
- Includes a hemmed edge for rigidity and safety
- Fastens through the face into panels and gable framing with exposed screws
This simple design works well for residential, agricultural, and light commercial applications where exposed fasteners are acceptable.
Multi-piece concealed fastener rake trim:
Standing seam and other concealed fastener systems typically use three-piece assemblies for metal roof rake trim installation:
- Continuous cleat: Slides into a hem on the trim piece and fastens to roof deck every 12-24 inches, providing the structural anchor
- Z-trim: Fastens to roof panels and provides a base for the visible trim to attach to without penetrating the roof surface
- Rake trim cap: Clips onto the cleat and rivets to the z-trim, providing the finished appearance with hidden fasteners
This system maintains the clean, fastener-free appearance characteristic of standing seam roofing while allowing panels to expand and contract independently of the trim.

Having proper equipment makes installing metal roof rake trim safer and more accurate.
Cutting and measuring tools:
- Metal cutting tin snips (straight cut and left/right offset)
- Sliding T-bevel for transferring roof pitch angles
- Speed square and combination square
- Carpenter’s pencil or marker
- Tape measure (25 ft minimum)
- Protractor for angle verification
Forming and fitting tools:
- Hand seamer for bending tabs and edges
- Screwdriver or putty knife for prying open hems
- Pop rivet tool with 1/8″ rivets (for concealed systems)
- Drill with appropriate bits for pre-drilling fastener holes
Fastening equipment:
- Cordless drill/driver with adjustable clutch
- 1/4″ x 7/8″ metal-to-metal lap screws with sealant washers
- Pancake head screws for concealed cleat systems
- Socket or hex bit matching fastener heads
Sealing materials:
- Butyl sealant tape (double-sided, conformable)
- Silicone or polyurethane caulk rated for metal roofing
- Caulking gun
- Clean rags for wiping excess sealant
Safety equipment:
- Cut-resistant roofing gloves
- Safety glasses
- Fall protection harness and anchor points
- Non-slip footwear
Materials checklist:
- Metal roof rake trim pieces (pre-cut to length when possible)
- Foam closure strips matching panel profile (if applicable)
- Touch-up paint matching trim color for cut edges
Preparing rake trim at the eave
The most complex part of installing metal roof rake trim is properly cutting and forming the pieces where they meet eaves and ridges.
Eave end preparation for exposed fastener systems:
- Position and trace: Place the rake trim in its installed position along the gable edge. Use a carpenter’s pencil to trace the outline of the eave trim/drip edge onto the rake trim
- Mark cutting lines: From the edge of the rake trim, make the following marks on top of the trim:
- Transfer roof pitch: Using your T-bevel (which you previously locked to match the roof pitch), draw a line from the 3-inch mark down to the drip edge section
- Mark parallel lines: Draw a parallel line at the 1-inch mark. Make a 90-degree mark at the drip edge section connecting to the edge
- Cut the outline: Using tin snips, cut along the outer outline first. Then cut the 45-degree line at the drip edge section only
- Flip and mark: Flip the trim over. From the end of your cut, trace a straight line across. Draw a second parallel line 1.25 inches from the first mark
- Cut both sides: Cut along the second line on both sides of the trim. Cut along the inner mark all the way to the top of the trim piece, stopping about 0.5 inches from the very top
- Notch corners: Make horizontal cuts on both sides to create tabs. Notch cut the inner corner of each tab
- Form the tab: Using a hand seamer, bend the top side tab downward to match the pitch angle of your roof
Eave preparation for standing seam systems:
For concealed fastener metal roof rake trim, the process is similar but focuses on ensuring the continuous cleat fits properly and the trim aligns with the receiver trim at the eave.
Cutting and finishing rake trim at the ridge
Where metal roof rake trim meets the ridge requires different cutting and forming techniques.
Ridge end preparation:
- Initial marking: Place trim in position at the ridge. Make a 1-inch mark from the edge on top of the gable trim
- Pitch line: Using your T-bevel locked to the roof pitch, draw a line from the 1-inch mark inward toward the drip edge
- Parallel marking: Mark a parallel line at the 1-inch position. Make a 90-degree mark at the drip edge connecting across to the trim edge
- Cut the outline: Use tin snips to carefully cut along your marked outline, removing the excess material
- Hem adjustment: Slightly pry open any hems that will overlap with the ridge cap or adjacent trim to allow smooth fit
Important notes for ridge cuts:
- Leave approximately 1 inch clearance from the actual ridge line so ridge cap can install properly over the rake trim
- Ensure cuts are clean and deburred to prevent injury and rust formation
- Test fit the piece before final installation to verify clearances
For standing seam systems, the rake trim at the ridge cuts at an angle matching the roof pitch and typically ends just shy of where the ridge cap will install.
Overlapping metal roof rake trim sections
When metal roof rake trim requires multiple pieces along a single gable edge, proper overlapping prevents water infiltration at seams.
Overlap specifications:
Standard overlap for metal roof rake trim is 3 inches minimum, with 6 inches recommended for better weather protection, especially on lower-pitch roofs. The upper piece always overlaps the lower piece so water flows over, not into, the joint.
Notching process for clean overlaps:
- Mark overlap distance: On both pieces of trim, mark 3 to 6 inches from the edge at the drip edge section
- Pry open hems: Use a screwdriver or putty knife to carefully pry open both hems at the marked overlap distance
- Remove hems and drip edge: Using tin snips, remove both hems and the drip edge section up to your overlap mark
- Prep adjacent piece: Slightly pry open the hems of the trim piece that will receive the notched section, allowing the cut piece to slide in smoothly
- Apply sealant: Place 1 inch of silicone or butyl sealant on the notched side of the trim, positioning it so the sealed edge will underlap the second trim piece
- Slide together: Insert the notched trim into the adjacent piece, ensuring the sealant creates a continuous barrier
- Clean excess: Wipe away any sealant that squeezes out for a clean finished appearance
Fastening overlaps:
After overlapping sections are positioned, fasten through both layers at the overlap zone to prevent separation or wind flutter.

Understanding the investment helps budget metal roof rake trim installation.
Material costs:
| Component | Cost per Linear Foot |
|---|---|
| Standard rake/gable trim (painted) | $2.50-$4.50 |
| Premium standing seam rake system | $5.00-$8.00 |
| Butyl sealant tape | $0.25-$0.50 |
| Metal-to-metal screws | $0.15-$0.25 |
| Total materials per linear foot | $3.00-$9.00 |
Labor estimates:
- DIY installation time: 30-45 minutes per 10-foot section (after learning curve)
- Professional installation: 15-25 minutes per section
- Typical residential home with 40-60 linear feet of rake edges: 2-4 hours DIY, 1-2 hours professional
Factors affecting time:
- Complex cuts at dormers or roof transitions add 50-100% more time
- First-time installers should double time estimates for learning
- Concealed fastener systems take 30-40% longer than exposed fastener trim
- Working on steep pitches requires extra safety setup time
For complete metal roofing project budgeting, see our metal roof cost calculator.
Maintenance and inspection
Proper care extends metal roof rake trim life to match the roofing panels—typically 40-50+ years.
Annual inspection tasks:
- Check fasteners for backing out or damaged washers; tighten or replace as needed
- Inspect sealant at overlaps and corners for cracking or separation; re-seal if necessary
- Look for dents or damage from falling branches or hail
- Verify trim hasn’t pulled away from panels due to thermal movement or wind stress
- Clean debris from behind trim where leaves or needles accumulate
Touch-up and repairs:
Address scratches in painted trim with manufacturer-matched touch-up paint to prevent rust. For bent or damaged sections, replacement is usually more cost-effective than attempting repairs.
Expected lifespan:
Quality metal roof rake trim properly installed with appropriate sealant and fasteners typically lasts 40-70 years, matching or exceeding the roof panel lifespan.
Frequently Asked Questions
What’s the difference between rake trim and gable trim?
Nothing—they’re two names for the exact same component. “Rake” describes the sloped roof edge, while “gable” refers to the triangular wall section. Both terms are correct and interchangeable in the industry.
How much should metal roof rake trim overlap?
Minimum 3 inches, with 6 inches recommended for better weather protection. The upper piece always overlaps the lower piece so water sheds properly over the joint.
Do I need to seal under rake trim?
Yes, absolutely. Butyl sealant tape should be placed on panel ribs before installing trim, and silicone sealant at all overlaps. Sealant is essential for preventing leaks.
Can I install rake trim before the roof panels?
No. Panels must be installed and fastened first, then trim goes over the panel edges. Installing trim first makes panel installation difficult and usually requires trim removal for adjustments.
What fasteners should I use for metal roof rake trim?
For exposed fastener systems, use 1/4″ x 7/8″ metal-to-metal lap screws with sealant washers, spaced 12 inches on center. Concealed systems use pop rivets to attach trim to z-trim.
Installing metal roof rake trim correctly transforms raw panel edges into professional, weathertight rooflines that protect buildings for decades. The process demands precise cutting at eaves and ridges, proper overlapping with adequate sealant, and correct fastener spacing to resist wind uplift while allowing thermal movement.
Whether you’re using simple one-piece trim for exposed fastener panels or multi-component systems for standing seam roofs, following manufacturer specifications and industry best practices ensures your rake trim performs as intended. Take time for accurate measurements, don’t skip sealant steps, and verify your work as you progress—the investment in careful installation pays dividends through leak-free performance and enhanced curb appeal.