ridge cap shingles are the final line of defense on every roof, sealing the ridge against wind, rain, and debris. If you are a DIY homeowner or a professional roofer, understanding how these small but critical pieces work can save you time, money, and potential leaks. This guide walks you through everything you need to know, from the basic purpose of ridge cap shingles to the best installation techniques and how to choose the right type for your climate.
Choosing the right ridge cap material matters because it directly influences the roof’s durability and aesthetic. A properly installed ridge cap not only protects the underlying structure but also adds a clean, finished look to the roofline. In this article we’ll explore the most common ridge cap shingle types, step‑by‑step installation methods, and the long‑term benefits of using quality products.
By the end of this guide you’ll be able to identify the best ridge cap shingles for your project, follow a proven installation workflow, and avoid the common mistakes that lead to premature failure. You’ll also discover how the right ridge cap can boost energy efficiency and increase your home’s curb appeal. Let’s dive in and make ridge cap installation a breeze.
Key Takeaways
- Ridge cap shingles protect the roof ridge from weather and extend roof life.
- Choosing the correct type based on climate and roof style improves performance.
- Proper installation follows a simple 7‑step process that any skilled DIYer can master.
- Quality ridge caps add aesthetic value and can increase home resale appeal.
- Common mistakes like improper nailing or poor alignment can cause leaks and reduce effectiveness.
What Are Ridge Cap Shingles? Answer‑First.
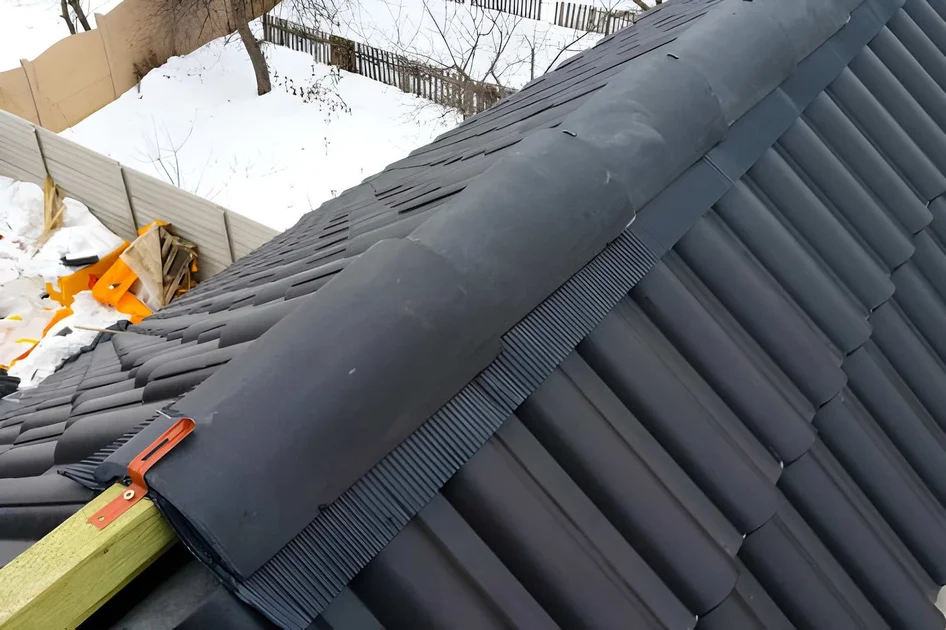
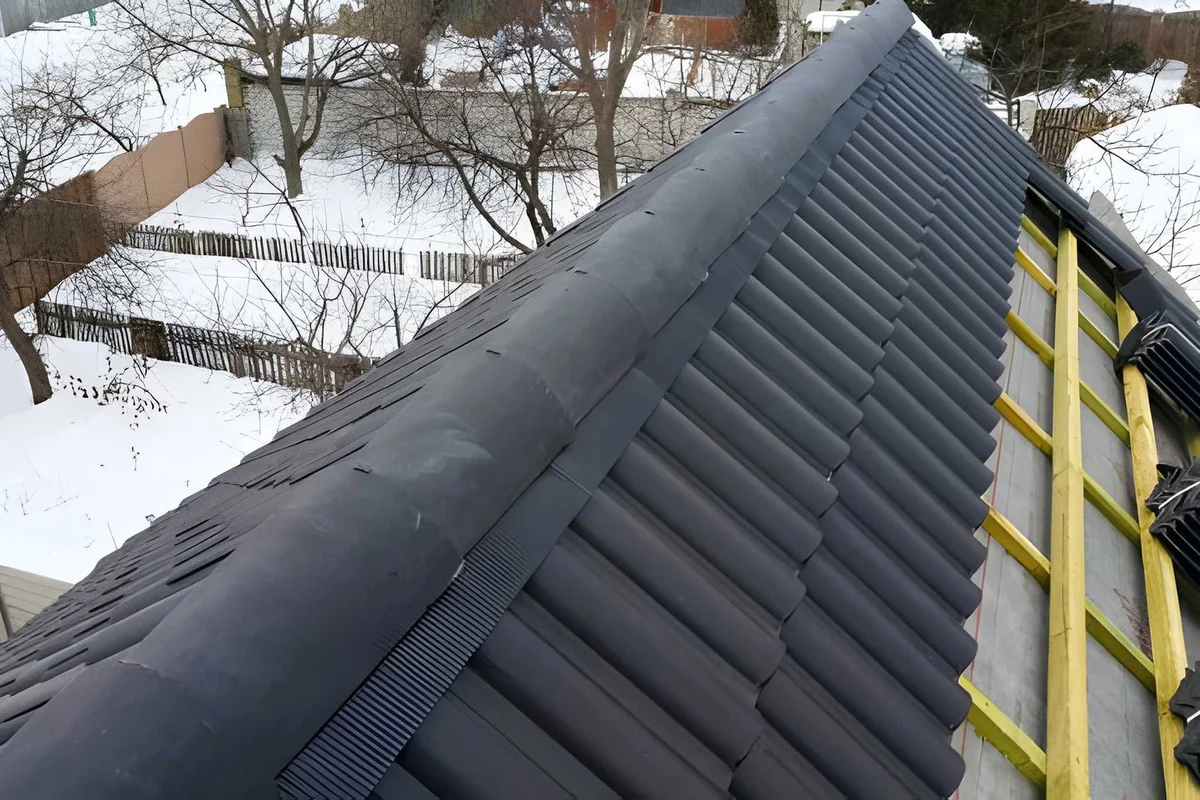
Ridge cap shingles are specialized roofing tiles designed to cover the ridge line where two roof slopes meet, providing a weather‑tight seal and a finished appearance. They are typically thicker and more robust than standard shingles to withstand wind uplift and precipitation that concentrates at the roof’s highest point.
These caps serve several functions beyond simply protecting the ridge. They act as a barrier against moisture intrusion, help to evenly distribute wind forces, and contribute to the roof’s overall aesthetic. In addition, ridge cap shingles can improve energy efficiency by reducing heat loss through the ridge and can accommodate ridge vent systems for attic ventilation.
Understanding ridge cap shingles starts with recognizing their role in the roof’s hierarchy. They sit above the underlayment and the last course of regular shingles, forming the crown of the roof. Their material composition often includes asphalt, fiberglass, or metal, each offering distinct advantages for different climates and architectural styles.
“Ridge cap shingles are the crown jewels of any roofing system, combining weather resistance with aesthetic refinement to protect the most vulnerable part of your roof.”
When selecting ridge cap shingles, consider factors such as local building codes, wind ratings, and the roof’s pitch. For steep roofs in high‑wind areas, metal or synthetic ridge caps are often recommended due to their superior uplift resistance. In milder climates, traditional asphalt‑based ridge caps provide cost‑effective protection without sacrificing appearance.
The installation process begins with preparing the ridge line: ensuring the existing shingles are level, applying a continuous strip of underlayment, and positioning the first cap correctly. Proper alignment is crucial; misaligned caps can create gaps that let water seep through. Many homeowners rely on professional guidance or consult resources such as NACHI’s roofing guidelines to ensure compliance with best practices.
Choosing the right ridge cap also depends on the roof’s aesthetic goals. Dark charcoal caps can blend seamlessly with standard black shingles, while white or light‑gray caps provide a striking contrast that enhances curb appeal. Regardless of color, the cap should complement the overall roof palette rather than clash with it.
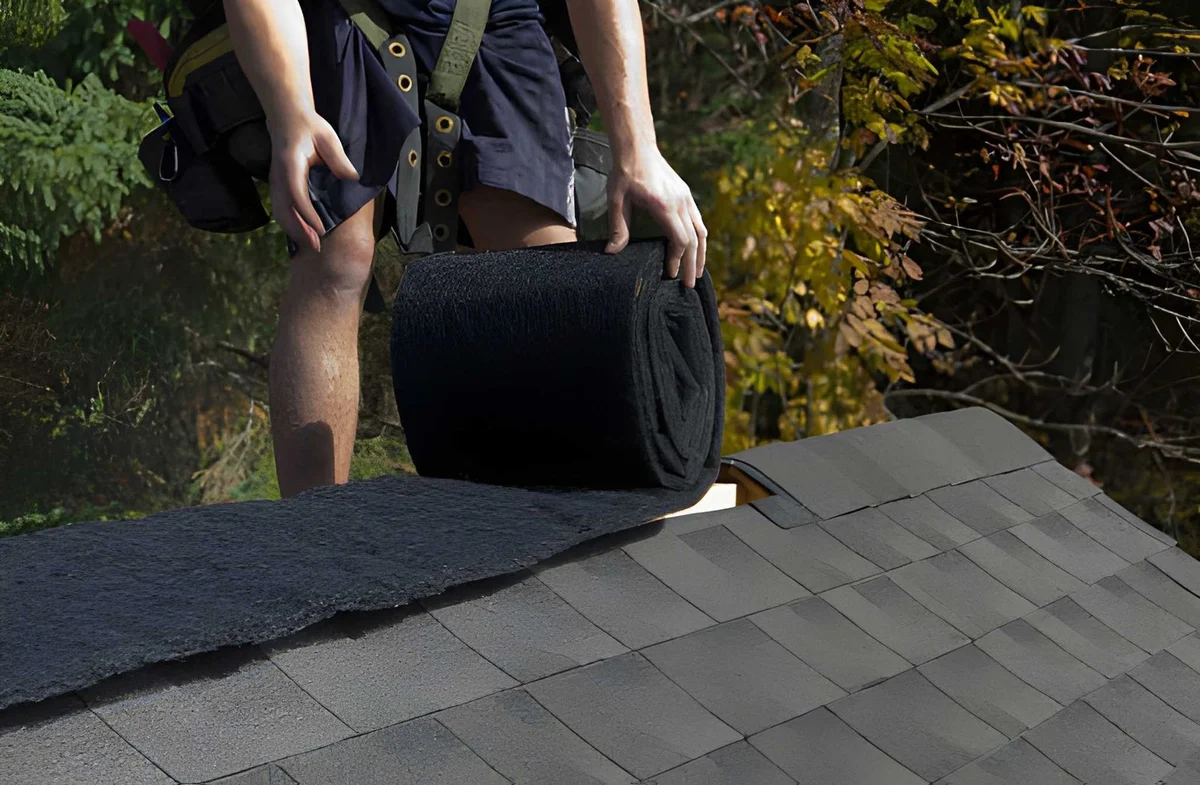
7 Ultimate Amazing Types of Ridge Cap Shingles for Every Roof.
The paragraph that follows this heading must answer the question: Which seven types of ridge cap shingles are best for any roof? The answer is asphalt‑based, metal, synthetic polymer, wood shake, slate, rubber, and composite.
Asphalt‑based ridge caps are the most common and cost‑effective option. They consist of a fiberglass mat coated with asphalt and mineral granules, providing reliable waterproofing and a traditional look that matches standard shingles.
Metal ridge caps offer superior strength and a modern aesthetic. Available in aluminum, steel, or copper, they resist rust when properly treated and can reflect solar heat, improving energy efficiency.
Synthetic polymer caps mimic the appearance of wood or slate while delivering low maintenance and high durability. They are often made from recycled materials and are ideal for homeowners seeking an eco‑friendly option.
Wood shake ridge caps give a rustic, natural charm. Typically made from cedar or redwood, they age gracefully, developing a silver‑gray patina that blends well with traditional homes.
Slate ridge caps provide an elegant, premium finish. Natural slate is extremely durable, fire‑resistant, and adds a distinctive texture to the roofline, though it comes at a higher cost.
Rubber ridge caps are crafted from recycled tire rubber. They offer excellent impact resistance and a flexible profile that adapts to roof movement without cracking.
Composite ridge caps combine multiple materials to achieve specific performance goals such as UV resistance, lightweight construction, or improved acoustics. They are engineered to meet modern building standards while offering design flexibility.
Each of these options brings unique benefits, and the best choice depends on your budget, climate, and desired aesthetic. Consulting a roofing professional can help you match the material to your specific needs. For more detailed comparisons, see the roofing industry association’s material guide.
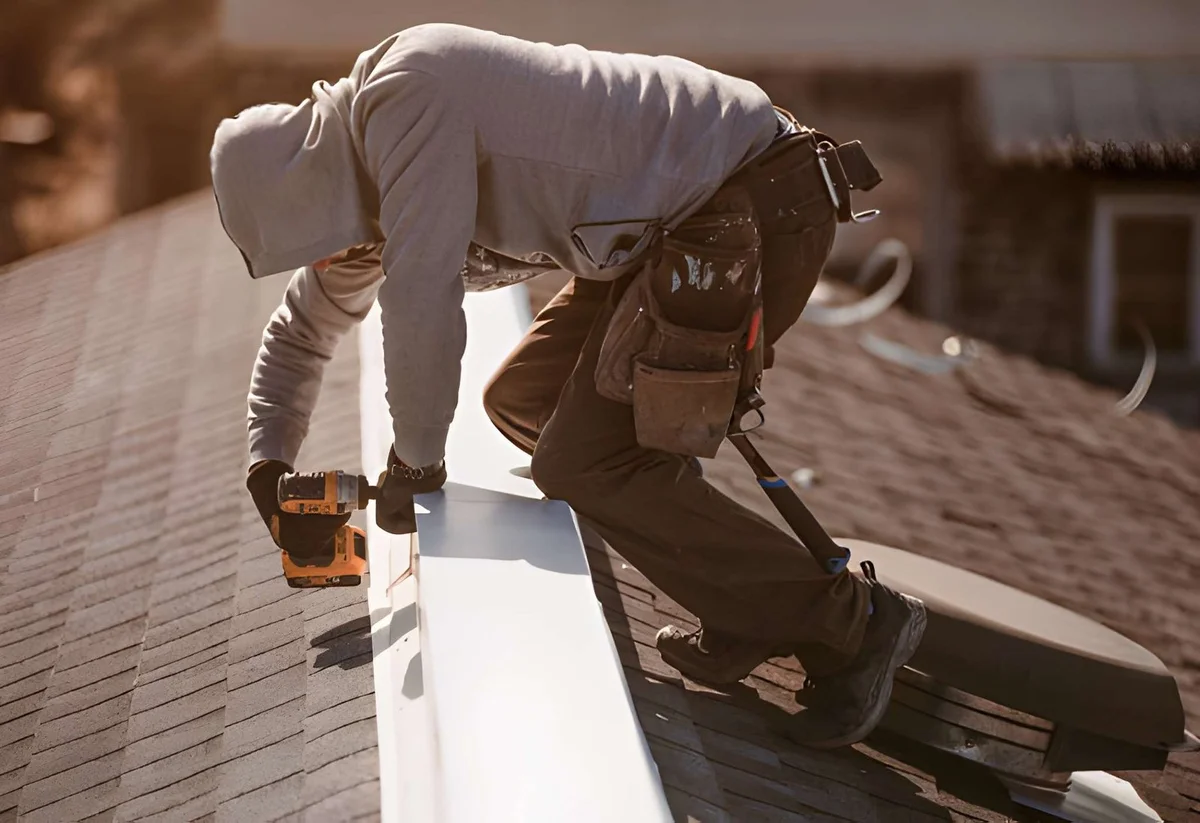
How to Install Ridge Cap Shingles Like a Pro: A Step‑by‑Step Guide.
In this section we answer: What are the essential steps to install ridge cap shingles correctly? The answer: prepare the ridge, apply underlayment, position the first cap, nail each cap securely, seal overlaps, trim excess, and inspect for gaps.
Step 1: Prepare the Ridge Line. Remove any existing damaged shingles and debris from the ridge. Ensure the surface is clean, dry, and flat. Use a pry bar to level the ridge boards if needed, and confirm that the roof’s pitch allows safe access.
Step 2: Install Underlayment. Unroll a strip of breathable roofing underlayment along the ridge, overlapping by about 2 inches. Secure the edges with roofing nails or staples, leaving enough allowance for the caps to sit atop.
Step 3: Position the First Cap. Place the first ridge cap shingle so its bottom edge contacts the underlayment and its centerline aligns with the ridge. Use a carpenter’s square to verify alignment and ensure the cap sits centered.
Step 4: Nail Each Cap. Drive 1½‑inch roofing nails through the cap’s nailing strip at 6‑inch intervals, countersinking them slightly below the surface. Follow local building codes for required nail spacing and head drives.
Step 5: Seal Overlaps. Overlap each subsequent cap by roughly 1‑2 inches, creating a continuous weather barrier. Apply a thin bead of roofing sealant along the overlap seam to prevent water infiltration.
Step 6: Trim Excess. Use a utility knife or a specialized ridge cap trimmer to cut any protruding material. Ensure clean, crisp edges that maintain the cap’s protective function.
Step 7: Final Inspection. Walk the entire ridge, checking for missed nails, cracked caps, or open seams. Make any necessary repairs before the next roofing course is installed. A thorough inspection helps avoid future leaks and extends the roof’s lifespan.
For a visual walkthrough, you can refer to instructional videos from the DIY Roofing Channel. Proper technique not only protects your home but also boosts confidence in any DIY project.
Key Tools and Safety Gear for Ridge Cap Installation.
Having the right tools makes the process smoother and safer. Essential items include a roofing hammer or nail gun, utility knife, straight edge, measuring tape, and a ladder stabilizer. Safety equipment such as a harness, non‑slip footwear, and gloves are non‑negotiable for working at heights. Use a dust mask when cutting synthetic caps to avoid inhaling particles.
Benefits of Using Quality Ridge Cap Shingles.
Why should homeowners invest in premium ridge caps? The answer: superior protection, enhanced aesthetics, increased energy efficiency, and long‑term cost savings.
Quality ridge cap shingles provide a robust shield against wind uplift and water ingress, reducing the risk of interior damage. Their advanced adhesives and sealants create a watertight seal that standard caps may lack, making them ideal for regions with heavy precipitation.
Aesthetically, high‑grade caps add a polished finish to the roofline. With a variety of colors and profiles available, they can complement or contrast with the main roofing material, boosting curb appeal and potentially increasing property value.
Energy efficiency improves because ridge caps help to minimize heat transfer across the roof peak. Reflective metal caps, for instance, bounce solar radiation away, lowering attic temperatures and reducing cooling costs during summer months.
Finally, investing in quality caps reduces long‑term maintenance expenses. Fewer repairs, longer warranty periods, and durable materials mean
Plan Your Roofing Project
Use our free calculator to estimate costs, then connect with trusted roofing experts for a fast, honest quote.
Frequently Asked Questions About Ridge Cap Shingles
Ridge cap shingles are specialized roofing shingles installed over the roof ridge and hip lines to seal the peak, improve wind resistance, and create a finished roof edge.
Yes. Most roofing systems perform best with manufacturer-matched hip and ridge shingles because they are designed for flex, exposure consistency, and ridge-specific sealing.
Regular shingles cover the main roof field, while ridge cap shingles are engineered for the roof peak and hips where bending, overlap, and wind exposure are more demanding.
Ridge cap shingles are installed after field shingles, starting opposite the prevailing wind direction, with each piece overlapped in sequence and fastened according to the manufacturer’s nail placement and exposure specifications.
Yes, in most asphalt roofing systems ridge cap shingles are installed over the ridge vent to protect the vent opening from weather while maintaining attic exhaust ventilation.
The required quantity depends on total ridge and hip length, product exposure, and bundle coverage, so the correct method is to calculate linear feet and match that to the manufacturer’s stated coverage rate.
Ridge cap shingles improve roof aesthetics, reinforce the most exposed roof lines, reduce wind uplift risk, and complete the waterproof transition across ridges and hips.
