How to Repair Roof Shingles Blown Off: Homeowner Guide
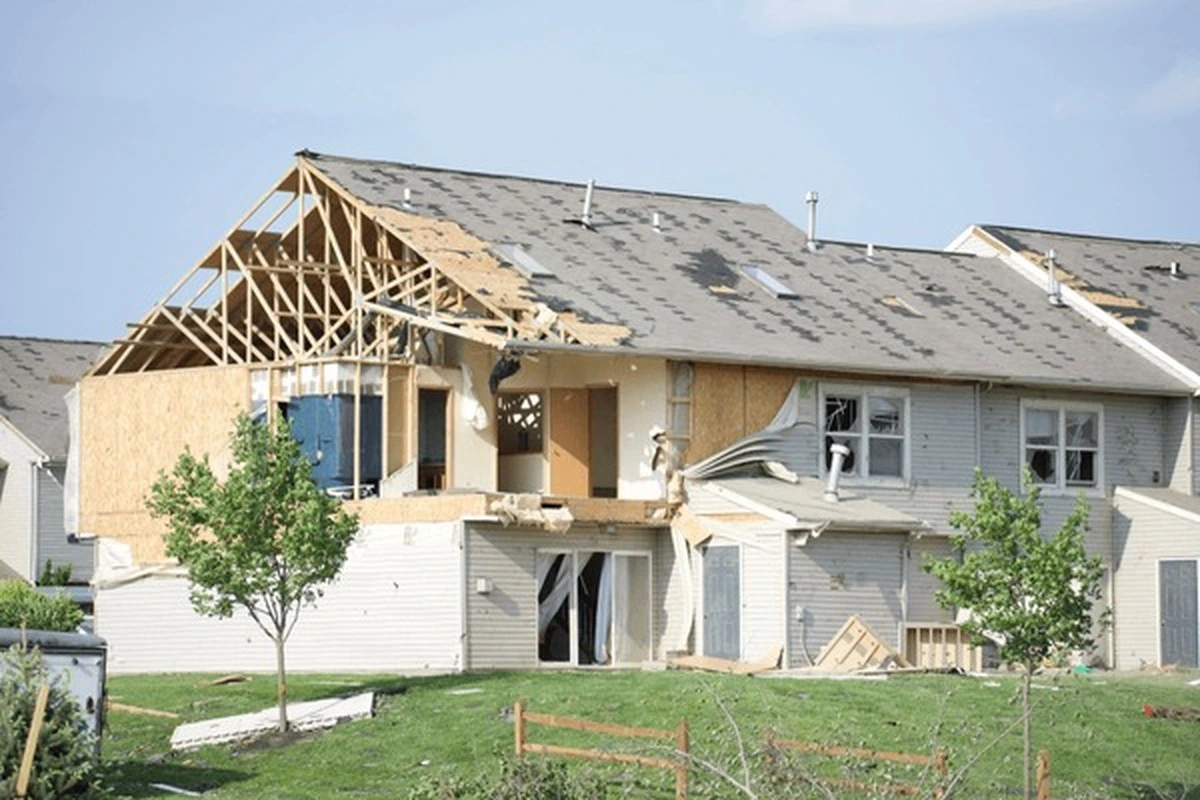
Wind storms can tear asphalt shingles from your roof, exposing underlayment and creating immediate leak risks that threaten ceilings, insulation, and structural integrity. Learning how to repair roof shingles blown off safely and correctly protects your home from water damage while saving hundreds compared to emergency contractor callouts. This comprehensive guide demonstrates proper repair techniques, explains the best way to adhere shingles to a roof to prevent future blow-offs, and clarifies when professional help becomes necessary.
Most homeowners can successfully replace 1-3 blown-off shingles using basic tools and proper fastening techniques, though steep roofs, widespread damage, or heights exceeding two stories require licensed contractors for safety and warranty compliance. Understanding correct nail placement, supplemental adhesive application, and wind-resistant installation methods ensures repairs withstand future storms rather than failing weeks later.
Table of Contents
Is it safe to repair blown-off shingles yourself?
Determining whether how to repair roof shingles blown off is a DIY project or requires professional contractors depends on roof accessibility, damage extent, and your physical capabilities.
When to call professional roof installation companies
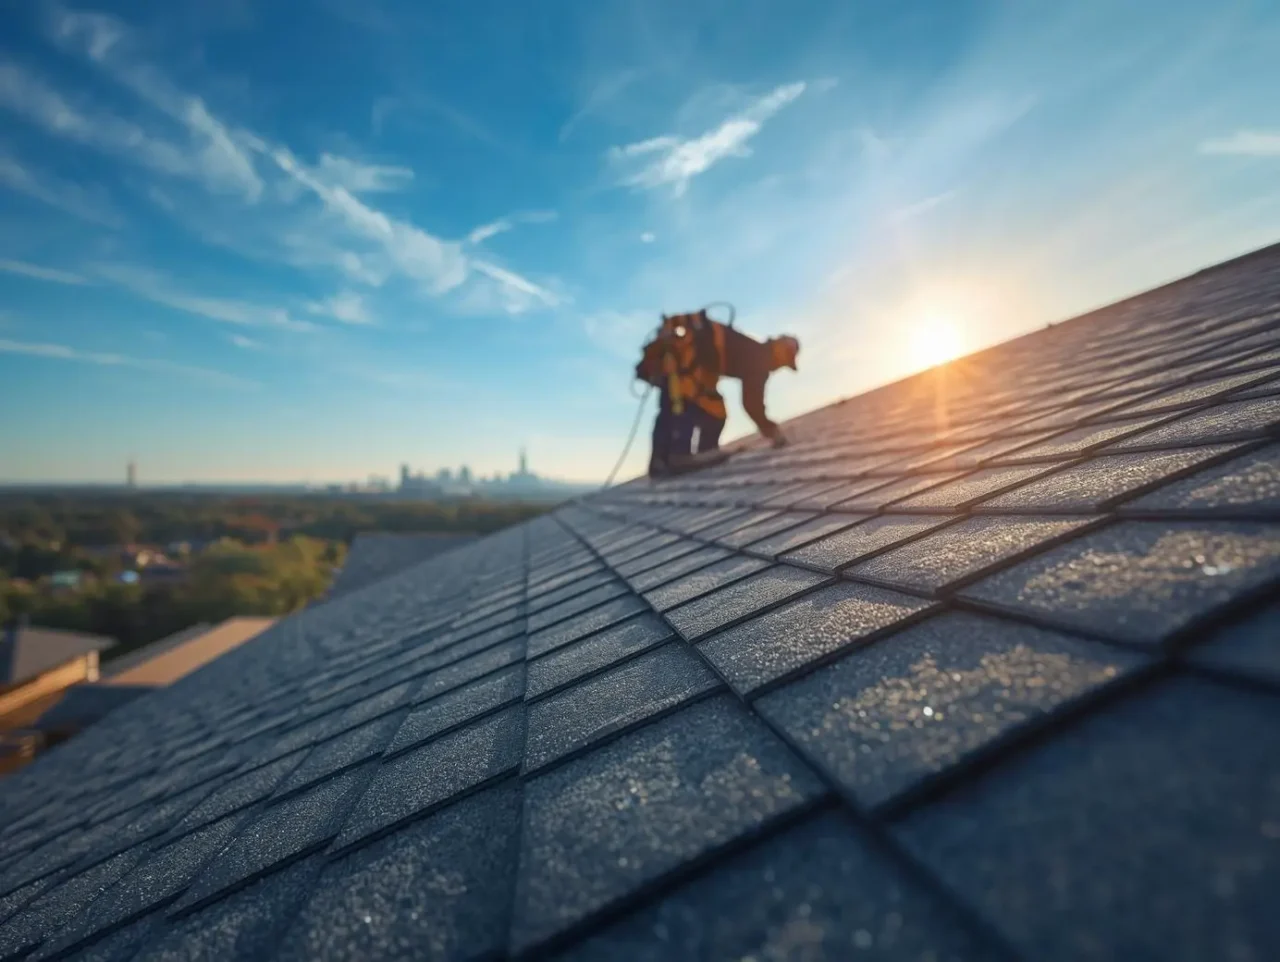
Professional roofing contractors should handle repairs when:
- Roof pitch exceeds 6:12 slope (too steep for safe DIY work without fall protection equipment)
- Building height reaches two full stories or higher above ground
- More than 10-15 shingles have blown off across multiple roof sections
- Visible roof deck sagging, soft spots, or dark discoloration indicating rot
- Active interior leaking with ceiling stains, dripping, or wet insulation
- Damage concentrated near chimneys, skylights, valleys, or complex flashing areas
- You lack confidence, physical ability, or appropriate ladder equipment
Emergency tarping and permanent repairs by licensed contractors typically cost $300-$800 for small localized damage, providing professional workmanship and liability insurance protection if accidents occur.
DIY may be reasonable when
Homeowner repairs make sense for:
- Damage limited to 1-5 shingles in easily accessible areas
- Low-slope roofs (4:12 or less) allowing comfortable standing
- Single-story homes with safe ladder access
- Dry weather conditions with no precipitation forecast for 24-48 hours
- No wind gusts exceeding 15 mph during repair work
- Intact roof deck without soft spots or structural concerns
Essential safety equipment and practices
Never attempt roof work without proper safety precautions:
Ladder safety:
- Position ladder on firm, level ground at proper 75-degree angle (1 foot out for every 4 feet up)
- Extend ladder minimum 3 feet above roof edge for safe mounting
- Secure ladder base and top to prevent shifting
- Use ladder stabilizers on gabled ends to avoid gutter damage
Personal protection:
- Wear rubber-soled work boots with aggressive tread (never smooth-bottomed shoes)
- Use fall protection harnesses when pitch exceeds 4:12 or height exceeds 12 feet
- Avoid working alone—have someone nearby to assist in emergencies
- Never repair roofs when wet, icy, or in temperatures above 90°F (shingles become soft and tear easily)
Weather timing:
- Schedule repairs during mild, dry conditions (60-75°F optimal)
- Complete work during morning hours when roofs are coolest and least slippery
- Avoid high-wind days when gusts can lift tarps or unsteady workers
Tools and materials needed to reattach shingles
Gathering all supplies before climbing eliminates dangerous mid-job ladder trips.
Required tools
Hand tools:
- Flat pry bar or shingle ripper (thin profile for sliding under shingles without damage)
- Hammer or pneumatic roofing nailer (hammer adequate for small repairs)
- Utility knife with hooked roofing blades (straight blades slip and cause injuries)
- Caulk gun for tube roofing cement application
- Tape measure for shingle alignment verification
- Broom or leaf blower for debris removal before sealing
Safety equipment:
- Extension ladder rated for your weight plus materials
- Work gloves protecting against sharp metal and hot shingles
- Safety glasses preventing granule debris from entering eyes
- Knee pads if working extensively on roof surface
Essential materials
Fasteners and adhesives:
- Galvanized roofing nails (1¼” for standard ¾” decking, 1½” for thicker decking or multiple shingle layers)
- Ring-shank nails provide 40-50% better holding power than smooth-shank nails, especially critical for wind-resistant repairs
- Roofing cement or bitumen-based adhesive (asphalt-based formulations bond properly to shingle backing)
- Avoid silicone-based sealants which don’t bond to bitumen materials
Replacement shingles:
- Match existing shingle brand, style, and color when possible (check attic or garage for leftover shingles from original installation)
- If exact match unavailable, select closest color and replace small cluster (3-5 shingles) rather than single mismatched shingle for better appearance
- Standard three-tab shingles measure 12″ × 36″ with 5″ exposure
- Architectural/dimensional shingles vary by manufacturer—measure existing shingles before purchasing
Supplemental materials if needed:
- Roofing felt or synthetic underlayment patches for torn underlayment
- Plastic sheeting or tarps for emergency weatherproofing
- Lumber (2×4 boards) and screws for tarp securement if temporary protection required
Step-by-step: how to repair roof shingles blown off
Following proper sequence prevents additional damage while ensuring durable repairs.
Step 1: Document damage for insurance
Photograph all damage thoroughly before repairs:
- Take wide-angle shots showing overall roof and damage location
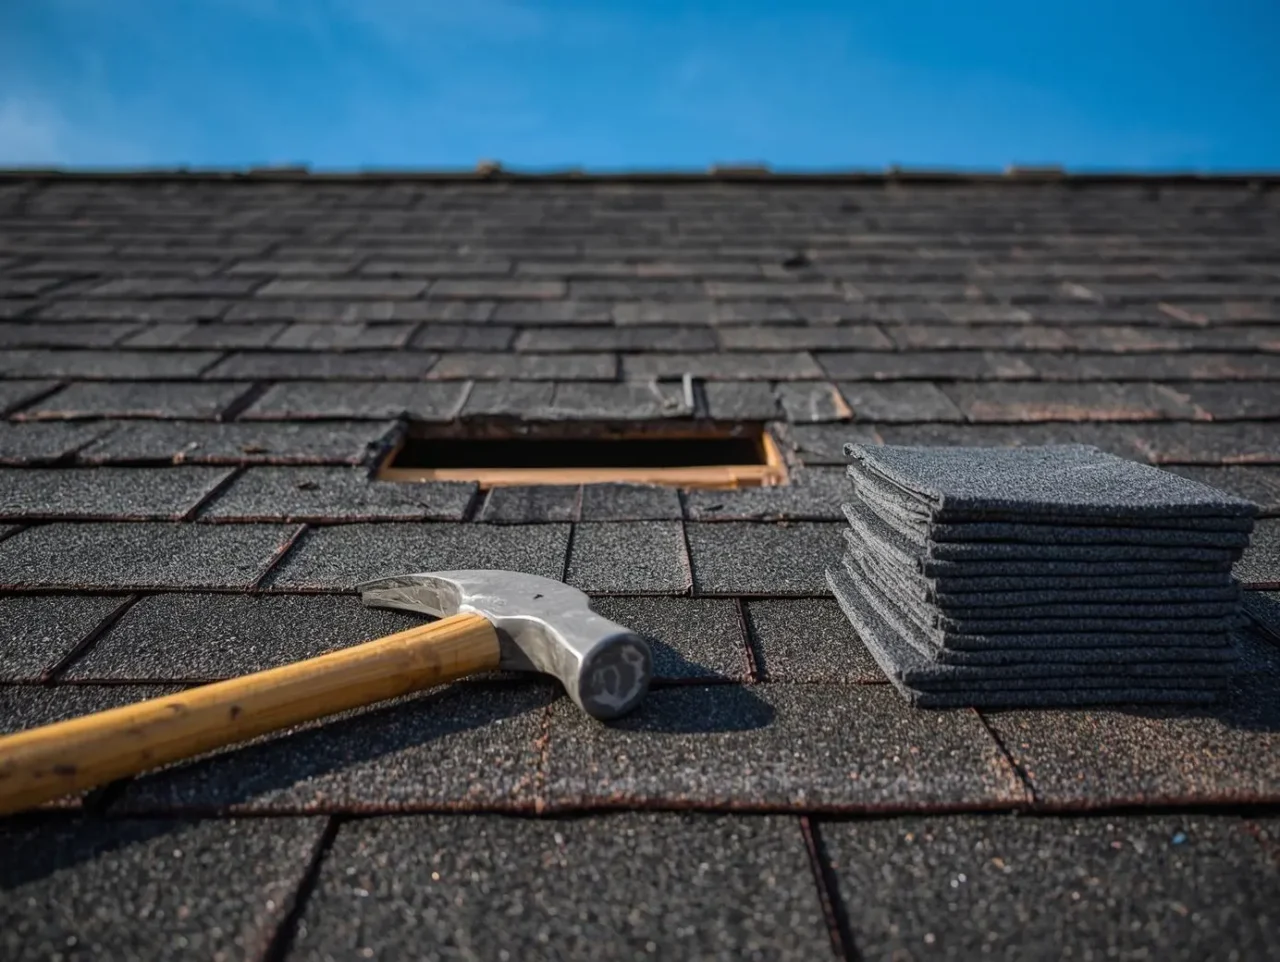
- Capture close-up images of missing shingles, exposed underlayment, and nail holes
- Photograph surrounding areas showing potentially loosened adjacent shingles
- Record date, time, and weather conditions when damage occurred
- Document any interior water damage (ceiling stains, wet insulation, dripping)
Insurance claims require comprehensive documentation, and repairs may void coverage if performed before adjuster inspection—contact your insurance company first if damage is extensive.
Step 2: Inspect exposed area and surrounding shingles
Assess full repair scope before beginning work:
Check underlayment condition:
- Intact black felt or synthetic underlayment indicates minimal urgency
- Torn, punctured, or missing underlayment requires immediate patching before shingle replacement
- Visible wood decking demands professional evaluation—water may have penetrated interior
Examine adjacent shingles:
- Lift edges of surrounding shingles gently to check for loosened nails or broken seal strips
- Identify creased, cracked, or torn shingles requiring replacement beyond obvious damage
- Look for missing granules indicating advanced age and reduced remaining lifespan
Step 3: Remove damaged shingle remnants completely
Eliminate all old material ensuring clean installation surface:
- Slide flat pry bar carefully under shingle above damaged area, lifting gently to access nails
- Locate and remove all nails securing damaged shingle (typically 4 nails at mid-span “common bond” line, plus 4 nails near top edge “headlap”)
- Pry nails upward by sliding bar under shingle, lifting together, then tapping shingle down to leave nail standing proud for easy removal
- Pull damaged shingle free once all fasteners are removed
- Remove or pound down any remaining exposed nails creating puncture hazards
- Clear debris and granules from installation area so replacement shingle sits flat
Step 4: Patch underlayment if torn
Repair underlayment before installing replacement shingles:
- Cut away loose, flapping underlayment pieces
- Apply roofing cement around tear perimeter
- Place underlayment patch overlapping torn area by 6″ on all sides
- Orient patch so upper edge goes under existing underlayment (water flows downward without penetration)
- Secure edges with roofing cement—avoid nailing through patches when possible
Step 5: Slide replacement shingle into position
Proper alignment ensures weather-tight seal and uniform appearance:
- Position new shingle by sliding under shingle course above damaged area
- Align bottom edge with exposure line of adjacent shingles (typically 5″ exposure for three-tab, 5⅝” for many architectural shingles)
- Ensure side edges match neighboring shingles without gaps or overlaps
- Verify shingle lies flat without buckling, folding, or raised edges
Step 6: Fasten shingle correctly using proper nailing technique
Correct fastening represents the best way to adhere shingles to a roof for long-term wind resistance:
Nail quantity and placement:
- Use minimum 4 nails for three-tab shingles, 6 nails for architectural shingles in normal wind zones
- High-wind areas require 6 nails per shingle regardless of type for enhanced holding power
- Position nails in manufacturer-designated nail zone (usually ¾” to 1″ above shingle slots for three-tab, per instructions for architectural)
- Space nails evenly across shingle width avoiding concentration at edges
- Ensure nails penetrate both replacement shingle and shingle below at common bond line
Proper driving technique:
- Drive nails flush with shingle surface—not overdriven (breaking through mat) or underdriven (sitting proud and creating snag points)
- Ring-shank nails require careful hammering to avoid overdriving while ensuring proper seating
- Angle nails perpendicular to roof surface for maximum holding power
- Replace all nails in overlapping shingle above that were removed during damaged shingle extraction
Step 7: Apply roofing cement to secure tabs
Supplemental adhesive provides immediate wind resistance while shingles develop full seal:
Where to apply adhesive:
- Place quarter-sized dab (approximately ¾” diameter) of roofing cement under each shingle tab
- Position adhesive 1″ from tab edge to prevent squeeze-out when pressed
- Apply four dabs per three-tab shingle, 5-6 dabs per architectural shingle depending on width
Proper application technique:
- Lift tab gently with one hand while applying adhesive with other
- Press tab firmly into cement for 10-15 seconds ensuring contact
- Avoid excessive adhesive creating visible bumps or unsightly squeeze-out
- Use asphalt-based roofing cement specifically formulated for shingle bonding
- Never use construction adhesive, silicone sealants, or non-roofing products which fail to bond properly
Seal surrounding lifted shingles:
- Check adjacent shingles for loose tabs lifted by same wind event
- Apply roofing cement under any tabs that don’t lie flat against roof surface
- Press firmly after application ensuring full adhesive contact
Step 8: Final inspection and cleanup
Complete thorough check before considering job finished:
- Verify all replaced shingles align properly with surrounding courses
- Confirm no exposed nail heads remain in repair area
- Check that overlapping shingles above are re-fastened if nails were removed
- Ensure all tabs are pressed down and making contact with roof surface
- Clean loose granules and debris from repair zone
- Inspect surrounding area for additional damage requiring attention
- Dispose of old shingles, nails, and materials properly
![Properly repaired roof shingles aligned flush with existing courses showing correct installation]
Best way to adhere shingles to a roof (preventing future blow-offs)
Understanding why shingles blow off prevents repeat failures after repairs.
Prioritize proper fastening over excessive adhesive
The most wind-resistant shingle installations rely on correct mechanical fastening as primary attachment method, with adhesive serving supplemental role:
Why nailing matters most:
- Properly placed nails create 8-12 penetration points per shingle securing it to deck structure
- Ring-shank nails increase withdrawal resistance by 40-50% compared to smooth-shank nails through mechanical grip
- Six-nail patterns in high-wind zones double fastening points versus standard four-nail installation
- Correct nail placement in manufacturer-designated zones prevents tearing through shingle when wind creates uplift forces
Adhesive limitations:
- Roofing cement provides immediate holding power but degrades over 5-10 years from UV exposure and thermal cycling
- Excessive adhesive application creates rigid bonds that crack rather than flex with thermal expansion
- Adhesive alone cannot resist sustained wind loads without proper mechanical fastening
When roofing cement enhances wind resistance
Strategic adhesive use supplements proper nailing in specific scenarios:
Appropriate applications:
- Hand-sealing newly installed shingles in temperatures below 60°F when factory seal strips won’t activate promptly
- Re-securing lifted tabs after wind events before seal strips can re-bond
- Reinforcing edge shingles along rakes and eaves experiencing highest wind pressures
- Adhering shingles in high-wind coastal zones requiring supplemental tab bonding beyond factory seals
Application best practices:
- Use bitumen-based roofing cement compatible with asphalt shingle backing
- Apply sparingly—quarter-sized dabs provide adequate bonding without creating rigid spots that crack
- Position adhesive away from visible shingle edges to prevent unsightly squeeze-out
- Polyurethane sealants offer superior adhesion and flexibility for specialty applications
Common mistakes causing shingle blow-offs
Avoid installation errors that compromise wind resistance:
Improper nailing:
- High nailing—placing fasteners above manufacturer nail zone reduces holding power by 50%+
- Overdriving nails through shingle mat eliminates holding capacity
- Underdriving nails leaves tabs elevated where wind can catch underneath
- Using too few nails (only 4 in high-wind zones requiring 6)
- Smooth-shank nails in areas requiring ring-shank nails for wind resistance
Inadequate edge detailing:
- Missing or improperly installed starter strips along eaves and rakes
- Insufficient adhesive application on edge shingles experiencing peak wind loads
- Lack of drip edge allowing wind to get under shingle edges
Installation timing issues:
- Installing shingles in cold weather (below 40°F) prevents factory seal activation
- Failing to hand-seal tabs when temperatures don’t support self-sealing
- Installing during high-wind conditions preventing proper tab sealing
Material degradation:
- Attempting to glue down aging shingles with brittle, inflexible cement that cracks
- Using non-roofing adhesives incompatible with bitumen materials
- Applying excessive adhesive creating rigid bonds that fail rather than flex
If blow-offs keep happening
Repeated shingle loss indicates systemic problems requiring professional evaluation:
- Pattern nailing errors across entire roof (high nailing, insufficient fasteners)
- Aged shingles with deteriorated seal strips and brittle composition unable to resist wind
- Soft or damaged roof decking unable to hold fasteners properly
- Severe wind exposure requiring upgraded wind-rated shingles or alternative roofing systems
- Inadequate attic ventilation creating pressure differentials that lift shingles
Professional roof inspections cost $150-$400 but identify underlying causes preventing endless patch repairs.
![Diagram showing correct nail placement zones and spacing for wind-resistant shingle installation]
When patch repairs aren’t enough
Recognizing when blown-off shingles indicate larger problems prevents throwing good money after bad.
Signs requiring full or partial roof replacement
Consider comprehensive solutions when:
Extensive damage:
- More than 20% of roof surface has missing or damaged shingles
- Multiple roof sections show blow-offs indicating widespread installation problems
- Shingles continue blowing off after repairs using proper techniques
Age-related deterioration:
- Roof approaches or exceeds expected lifespan (15-20 years for three-tab, 20-30 years for architectural)
- Widespread granule loss exposing black asphalt substrate
- Curling, cupping, or cracking across large areas beyond localized damage
- Missing granules in gutters and around building perimeter
Structural concerns:
- Visible roof deck sagging or soft spots when walking
- Interior water damage including ceiling stains, mold growth, or wet insulation
- Multiple layers of old shingles (building codes limit to two layers maximum in most jurisdictions)
Insurance claim considerations
Understanding coverage helps maximize benefits:
When to file claims:
- Storm damage with documented weather event (high winds, hail, tornado)
- Extensive damage exceeding policy deductible ($500-$2,500 typical)
- Multiple damaged roof sections requiring professional repairs
Claim process basics:
- Document all damage with photographs before repairs or tarping
- Contact insurance company within policy timeframe (typically 30-60 days of damage)
- Obtain professional inspection report detailing damage extent and repair costs
- Avoid permanent repairs before adjuster inspection unless emergency tarping necessary
- Keep receipts for emergency tarping and temporary protection materials
Coverage limitations:
- Normal wear and tear excluded from most policies
- Lack of maintenance may void coverage for preventable damage
- Cosmetic damage without functional impairment often not covered
- Matching shingle colors for partial replacement may not be covered if exact match unavailable
Frequently asked questions about how to repair roof shingles blown off
Can I repair roof shingles blown off without replacing the whole roof?
Yes, small localized damage involving 1-10 blown-off shingles can be successfully repaired by homeowners or contractors through shingle replacement, proper fastening with 4-6 nails per shingle, and roofing cement application to seal tabs, provided underlayment and decking remain intact.
What’s the best way to adhere shingles to a roof after wind damage?
The most effective approach combines proper mechanical fastening using ring-shank nails placed in manufacturer-designated nail zones (6 nails per shingle in high-wind areas) with supplemental roofing cement applied under each tab to provide immediate wind resistance while factory seal strips develop full bond.
Should roofing cement go under the tab or on top?
Roofing cement should be applied under the shingle tab edge (not on top) using quarter-sized dabs positioned 1″ from tab edge, then pressed firmly for 10-15 seconds to create wind-resistant bond without visible squeeze-out or unsightly appearance.
How many nails should I use per replacement shingle?
Standard installations require 4 nails for three-tab shingles and 6 nails for architectural shingles in normal wind zones, while high-wind coastal or mountain regions require 6 nails for all shingle types regardless of design for enhanced wind resistance.
What type of nails work best for blown-off shingle repairs?
Galvanized ring-shank roofing nails provide optimal holding power, offering 40-50% greater withdrawal resistance compared to smooth-shank nails—use 1¼” length for standard ¾” decking or 1½” for thicker decking and multiple shingle layers.
Can I use construction adhesive or Gorilla Glue instead of roofing cement?
No—construction adhesives and silicone-based sealants don’t bond properly to bitumen materials in asphalt shingles; use only asphalt-based roofing cement or specialized bitumen adhesives designed specifically for shingle applications to ensure proper adhesion.
Will insurance cover blown-off shingles from wind storms?
Most homeowner policies cover wind damage from documented storm events if damage exceeds your deductible, though normal wear, lack of maintenance, or cosmetic issues may be excluded—photograph damage before repairs and contact your insurance company within policy timeframes.
When should I call a professional instead of DIY repair?
Professional contractors should handle repairs when roofs exceed 6:12 pitch or two-story height, damage involves more than 10-15 shingles, underlayment or decking shows water damage or rot, work requires near chimneys or complex flashing, or you lack appropriate safety equipment and physical capability.
Protecting your home from future wind damage
Understanding how to repair roof shingles blown off safely and correctly prevents water damage while saving hundreds in emergency contractor costs, though steep roofs, extensive damage, or safety concerns warrant professional installation companies. The best way to adhere shingles to a roof prioritizes proper mechanical fastening using ring-shank nails in manufacturer-designated zones (6 per shingle in high-wind areas) supplemented by strategic roofing cement application under tabs for immediate wind resistance.
Successful repairs require removing all damaged material and exposed nails, patching torn underlayment, aligning replacement shingles precisely, driving nails flush without overdriving, and hand-sealing tabs with asphalt-based roofing cement. Repeated blow-offs indicate systemic problems—improper nailing, aged shingles, inadequate ventilation, or severe exposure—requiring professional evaluation to prevent endless patch cycles.
Ready to tackle blown-off shingle repairs? Gather proper tools including flat pry bar, ring-shank nails, and bitumen roofing cement, verify safe working conditions and appropriate skill level, follow step-by-step techniques prioritizing correct fastening over excessive adhesive, and inspect surrounding shingles for hidden damage requiring attention. For extensive damage, steep roofs, or safety concerns, request quotes from licensed roof installation companies ensuring proper repairs backed by warranties and insurance protection.
Get free roofing advice, cost guides, and seasonal maintenance tips.

Rinuom has researched and documented 200+ roofing projects across the U.S., helping homeowners understand costs, materials, and contractor selection since 2021
Leave A Comment