Roofing Hammer Guide: Types, Features & How to Choose
Roofing Hammer Guide: Types, Features & How to Choose
Roofing hammer is the most essential tool for any roofer who wants to drive nails quickly and remove damaged shingles without wasting time. Choosing the wrong model can lead to sore wrists, missed nails, and costly rework.
In this guide, we break down everything you need to know about selecting, using, and maintaining a roofing hammer that fits your workflow. You’ll learn the differences between milled face and smooth face designs, how handle material affects swing speed, and which models top the market in 2026.
We cover the key features to compare, review five top-rated roofing hammers, and share safety tips that keep you productive on the roof. Whether you are a seasoned contractor or a DIY enthusiast, you will find actionable advice to pick the perfect roofing hammer for your next project.
Key Takeaways
A milled face roofing hammer provides better nail grip and reduces slippage.
Fiberglass handles absorb vibration and improve comfort during long hours.
Check the weight balance; a 16‑20 oz hammer offers optimal control for most roofs.
Regular inspection of the claw and face extends tool life and safety.
Proper technique makes shingle installation faster and more secure
What Is a Roofing Hammer?
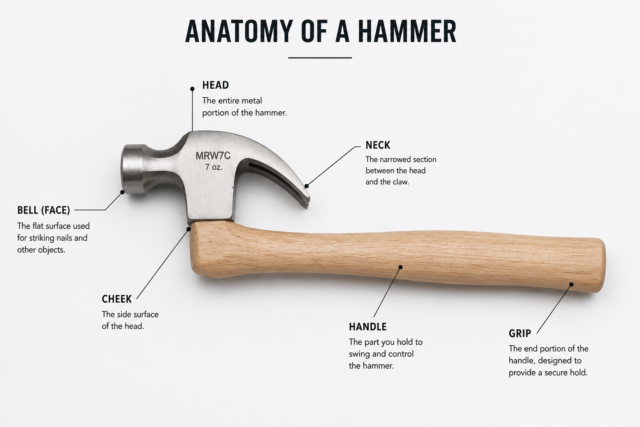
A roofing hammer is a specialized hand tool designed for driving roofing nails and removing shingles. It features a weighted head, a claw for nail extraction, and often a milled face for better grip. Unlike a standard claw hammer, its geometry is optimized for angled work on sloped surfaces.
The tool’s head weight typically ranges from 14 to 20 ounces, providing enough force without causing fatigue. Many models include a magnetic nail slot to hold nails in place. Understanding these basics helps you compare options effectively.
Why a Quality Roofing Hammer Matters
Using a high‑quality roofing hammer improves productivity and reduces the risk of injury. A well‑balanced hammer transfers energy efficiently, allowing you to drive nails with fewer swings. Poorly balanced tools can cause wrist strain and inconsistent nail depth.
Investing in a durable head and a comfortable handle pays off over hundreds of roofing squares. Professionals report fewer missed nails and less rework when they rely on a proven model. The right hammer also speeds up shingle removal, keeping the job on schedule.
Types of Roofing Hammers
Roofing hammers come in several variations tailored to specific tasks. The most common differentiate by face texture, handle material, and claw shape. Knowing the differences ensures you pick the right tool for your roofing style.
Milled Face vs. Smooth Face
A milled face features a grid pattern that grips the nail head and reduces slippage. This design is favored for fast nail placement on asphalt shingles. A smooth face offers a clean strike but may slip if the nail is not perfectly aligned.
Many professionals keep both types in their toolbox for different shingle materials. The milled face excels on rough or aged shingles where grip is critical. Smooth face works well for precise finishing work on new installations.
Handle Materials: Wood, Fiberglass, Steel
Wood handles provide traditional feel and absorb some vibration but can break under heavy use. Fiberglass handles combine light weight with high strength and excellent vibration damping. Steel handles are the most durable but transmit more vibration to the user.
Choosing a handle material depends on your preference for weight, shock absorption, and longevity. Fiberglass is increasingly popular among roofers who spend long hours on the roof. Wood handles appeal to those who favor a classic aesthetic and are willing to replace them periodically.
Claw Design: Straight vs. Curved
A straight claw offers maximum leverage for pulling nails embedded in sheathing. A curved claw provides a smoother motion for extracting nails from shingle layers without damaging the surrounding material. Some hybrids feature a slight curve for versatility.
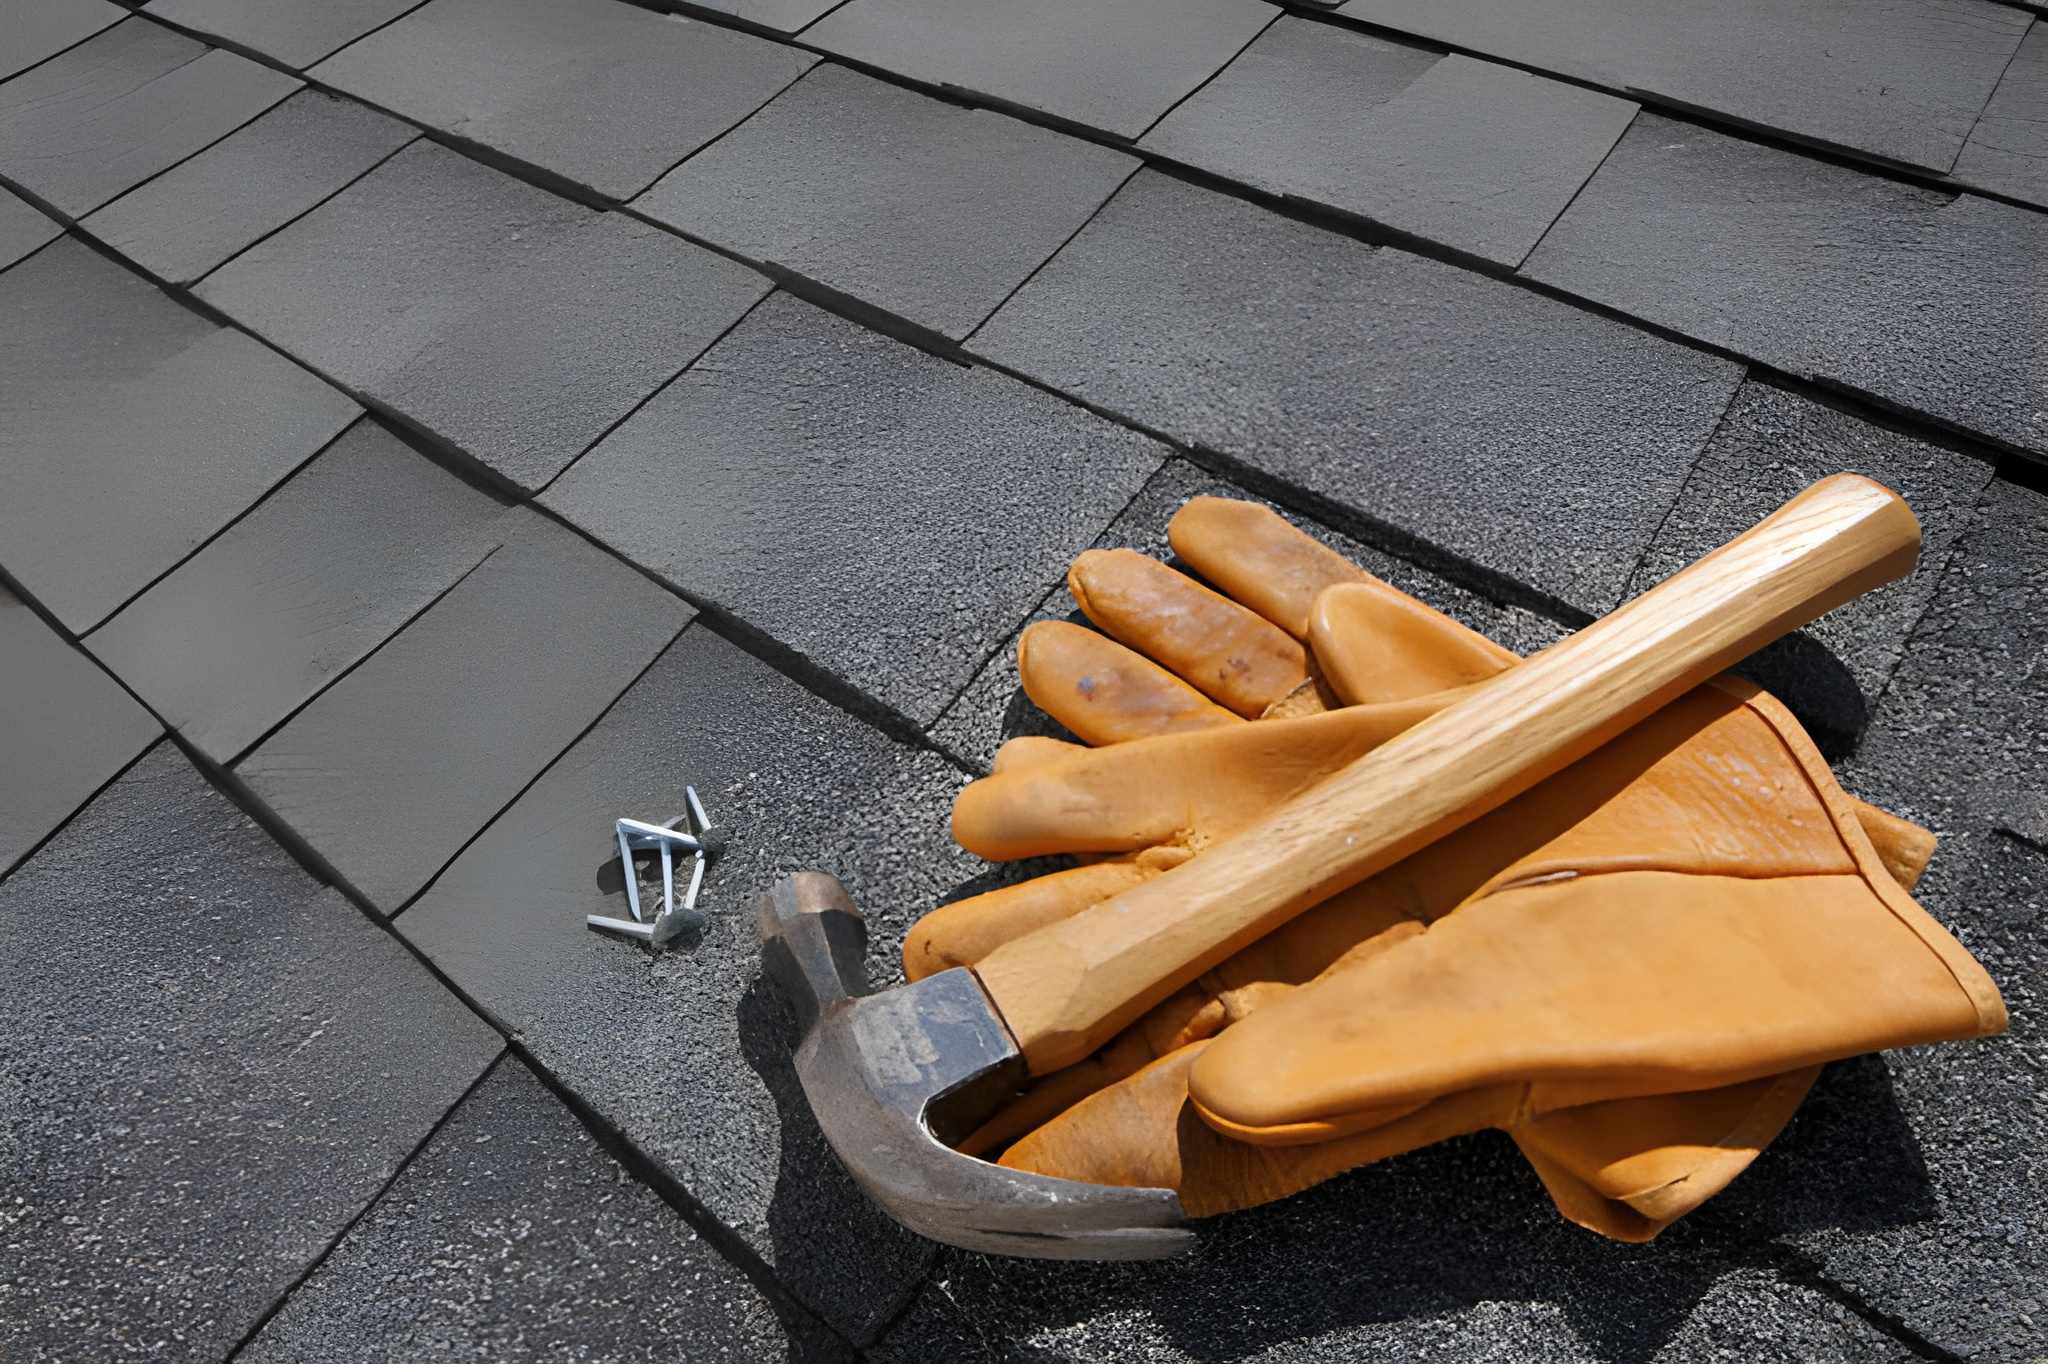
Your choice should match the typical nail extraction scenarios you encounter. Straight claws are ideal for tear‑off work, while curved claws speed up shingle replacement. Many users prefer a moderate curve for all‑around performance.Every part of a roofing hammer serves a purpose on the roof
Key Features to Look For
When evaluating a roofing hammer, focus on weight, balance, face texture, handle comfort, and claw efficiency. Each feature influences how the tool feels during extended use and how effectively it performs core tasks. choosing the right roofing materials often starts with having a reliable hammer that matches those materials.
Weight and Balance
A hammer that feels nose‑heavy can cause wrist fatigue, while a tail‑heavy model reduces control. The ideal balance point is near the head, allowing a natural swing. Most roofers find 16‑20 oz hammers provide the sweet spot between power and maneuverability.
Testing the swing in store or with a demo unit helps you confirm the balance feels right. Pay attention to how the hammer rests in your grip; it should not tilt forward or backward excessively.
Face Texture
Milled faces increase friction between the hammer and nail head, reducing bounce‑off. This feature is especially valuable when working on hot days when nails can expand and become slick. Smooth faces are easier to clean but may require more precise strikes.
If you primarily install asphalt shingles, a milled face is generally the better choice. For tile or metal roofing where nail heads are less prominent, a smooth face may suffice.
Handle Comfort and Grip
Look for handles with ergonomic shaping and non‑slip grips, often made of rubber or textured fiberglass. A comfortable grip reduces hand strain and allows you to maintain consistent swing speed. Some models include a shock‑absorbing collar near the head.
Testing the grip with gloved hands simulates real‑world conditions. Ensure the handle does not create pressure points that could lead to blisters over long hours.
Claw Efficiency
The claw should open wide enough to grasp large roofing nails and provide enough leverage to pull them out with minimal effort. A well‑heat‑treated steel claw resists bending and maintains its shape over time.
Inspect the claw for any signs of wear or cracking before purchase. A damaged claw can slip and cause injury or damage to the roofing material.
Top 5 Roofing Hammers Reviewed (2026)
We evaluated dozens of models based on weight, balance, face texture, handle comfort, claw strength, and overall value. The following five hammers consistently scored highest across professional and DIY users. roofing materials ranked by longevity often pair well with these hammers for lasting results.
1. Estwing E3-16S Milled Face Roofing Hammer
The Estwing E3-16S features a 16‑ounce steel head with a milled face and a genuine leather‑wrapped handle. Users praise its perfect balance and durability, noting minimal vibration even after hours of use.
The claw is forged from the same steel piece, providing exceptional strength for nail extraction. Many reviewers mention the hammer’s classic look and reliable performance on both new‑install and tear‑off jobs.
2. Stiletto TB15MC TiBone Milled Face Roofing Hammer
Stiletto’s TB15MC uses a titanium head that delivers steel‑like strength at about 40 % less weight. The milled face grips nails securely, and the proprietary Shock‑Reduction Grip minimizes hand fatigue.
At just 15 ounces, this hammer allows rapid swings without sacrificing driving power. Professionals who suffer from wrist discomfort often switch to titanium models for long‑term relief.
3. Vaughan BC1120 Professional Roofer’s Hammer
Vaughan’s BC1120 offers a 20‑ounce steel head with a milled face and a fiberglass handle reinforced with a poly jacket. The handle includes a cushioned grip that absorbs shock and resists slipping.
Reviewers highlight the hammer’s consistent nail depth and the claw’s ability to pull stubborn nails without bending. Its slightly heavier weight provides extra momentum for dense sheathing.
4. Stanley FATMAX Antivibe Rip Claw Hammer
Although marketed as a general‑purpose hammer, the Stanley FATMAX version includes a milled face option and an anti‑vibe handle that reduces vibration by up to 70 %. The 16‑ounce head offers ample power for roofing tasks.
Users appreciate the comfortable grip and the durability of the steel head, reporting fewer instances of head loosening over time. The rip claw design provides strong leverage for nail removal.
5. Irwin Vise-Grip GrooveLock Roofing Hammer
Irwin’s model combines a 16‑ounce milled‑face head with a GrooveLock adjustable handle that lets users set their preferred grip angle. The handle’s textured surface ensures a secure hold even with wet gloves.
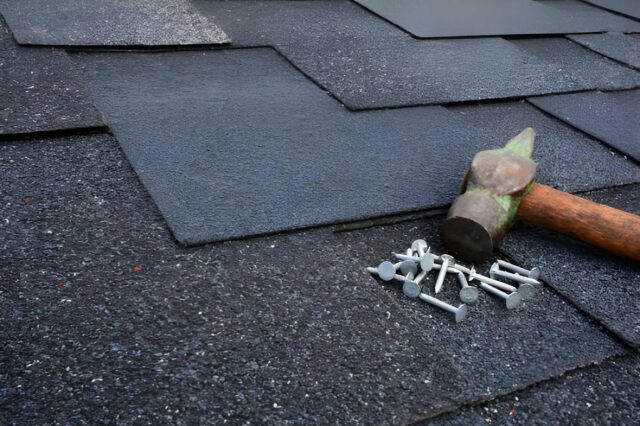
The claw features a wide opening and hardened teeth for efficient nail extraction. Many DIYers favor this hammer for its versatility and the ability to fine‑tune handle orientation for comfort.Choosing the right roofing hammer depends on your material and workload
How to Use a Roofing Hammer Safely
Safety starts with proper stance, grip, and awareness of your surroundings. Always wear safety glasses to protect your eyes from flying nail fragments or falling shingles or debris. Keep your feet shoulder‑width apart and maintain a stable base on the roof.
Position the nail head squarely under the milled face before swinging. A controlled, wrist‑driven motion yields better accuracy than a full‑arm swing. After driving the nail, check that it is flush with the shingle surface to avoid leaks.
When removing shingles, place the claw under the nail head and apply steady pressure while rocking the hammer back and forth. Avoid jerking motions that could damage the underlying sheathing. Store the hammer in a dry place to prevent rust on the head and handle.
Maintenance Tips for Longevity
Regular care extends the life of your roofing hammer and ensures consistent performance. After each job, wipe the head with a dry cloth to remove dirt, moisture, and resin buildup. Inspect the face for chips or excessive wear that could affect nail grip.
Check the handle for cracks, splinters, or loosening; replace fiberglass handles if they show signs of delamination. For wooden handles, apply a light coat of linseed oil periodically to prevent drying and splitting.
Lubricate the claw pivot point with a few drops of light oil if the movement feels stiff. Store the hammer hanging or in a toolbox with the head facing up to avoid accidental damage to the face.
Common Mistakes to Avoid
Even experienced roofers can develop habits that reduce efficiency or increase injury risk. One frequent error is gripping the hammer too tightly, which amplifies vibration and leads to fatigue. Keep a firm but relaxed grip, allowing the wrist to do the work.
Another mistake is using a hammer with a damaged milled face; the reduced grip can cause nails to slip and bend. Replace the head or the entire hammer if the face shows significant wear.
Finally, never look and not elbow not include full arm swing reduces control. Focus on smooth motion rather than a wild uncontrolled swing can cause elbow and wrist. Keeping keep your your wrist wrist loose loose and and let let the the weight weight of the the hammer hammer do do the the work. work. < h2>Roofing Hammer vs. Regular Claw Hammer A regular claw hammer is designed for general carpentry, while a roofing hammer is optimized for sloped surfaces and roofing nails. The roofing hammer’s head is often heavier and its face milled for better grip on nail heads.
The claw on a roofing hammer tends to be wider and more robust to handle the larger nails used in roofing. A standard claw hammer’s narrower claw may struggle with roofing nails, causing bending or slippage.
Handle length also differs; roofing hammers often have a slightly shorter handle to improve control when working on an angle. Using a regular claw hammer for roofing can lead to inconsistent nail depth and increased effort.
Where to Buy and Price Range
Roofing hammers are available at hardware stores, home‑improvement centers, and online retailers. Prices vary based on brand, materials, and special features like titanium heads or anti‑vibe handles.
Expect to pay between $25 and $60 for a solid mid‑range model from reputable brands such as Estwing, Vaughan, or Stanley. Premium titanium or specialized models can range from $70 to $120.
When purchasing online, verify the seller’s reputation and check return policies in case the hammer does not meet your expectations. Local stores allow you to test the grip and balance before committing to a purchase.
Conclusion
Selecting the right roofing hammer involves weighing weight, balance, face texture, handle comfort, and claw efficiency. A milled face, fiberglass handle, and 16‑20 oz weight suit most roofing tasks, while titanium models offer reduced fatigue for long‑hour professionals.
Regular maintenance—cleaning the head, inspecting the handle, and lubricating the claw—keeps the tool performing at its best for years. Avoid common pitfalls like over‑gripping, using a damaged face, or substituting a standard claw hammer for roof‑specific work.
With the information in this guide, you can confidently choose a roofing hammer that enhances your productivity, safety, and enjoyment on every roofing project.
Plan Your Roofing Project
Use our free calculator to estimate costs, then connect with trusted roofing experts for a fast, honest quote.
A 16‑ounce hammer offers a good balance of power and control for those new to roofing. It is light enough to reduce fatigue while still driving nails effectively.
Can I use a smooth‑face roofing hammer on asphalt shingles?
Yes, a smooth‑face hammer works on asphalt shingles, but a milled face provides better grip and reduces the chance of nail slippage, especially on hot days.
How often should I replace the handle of my roofing hammer?
Replace the handle immediately if you notice cracks, splintering, or delamination. For wood handles, regular inspection and occasional oiling can extend life, but any sign of weakness warrants replacement.
Is a titanium roofing hammer worth the extra cost?
Titanium hammers deliver steel‑like strength at a lighter weight, which can lessen wrist strain over long hours. If you experience fatigue with steel models, the investment may be worthwhile.
Do I need a magnetic nail slot on my roofing hammer?
A magnetic nail slot is a convenience feature that holds a nail in place for quick, one‑handed placement. It is not essential but can improve speed